2019 in the workshop
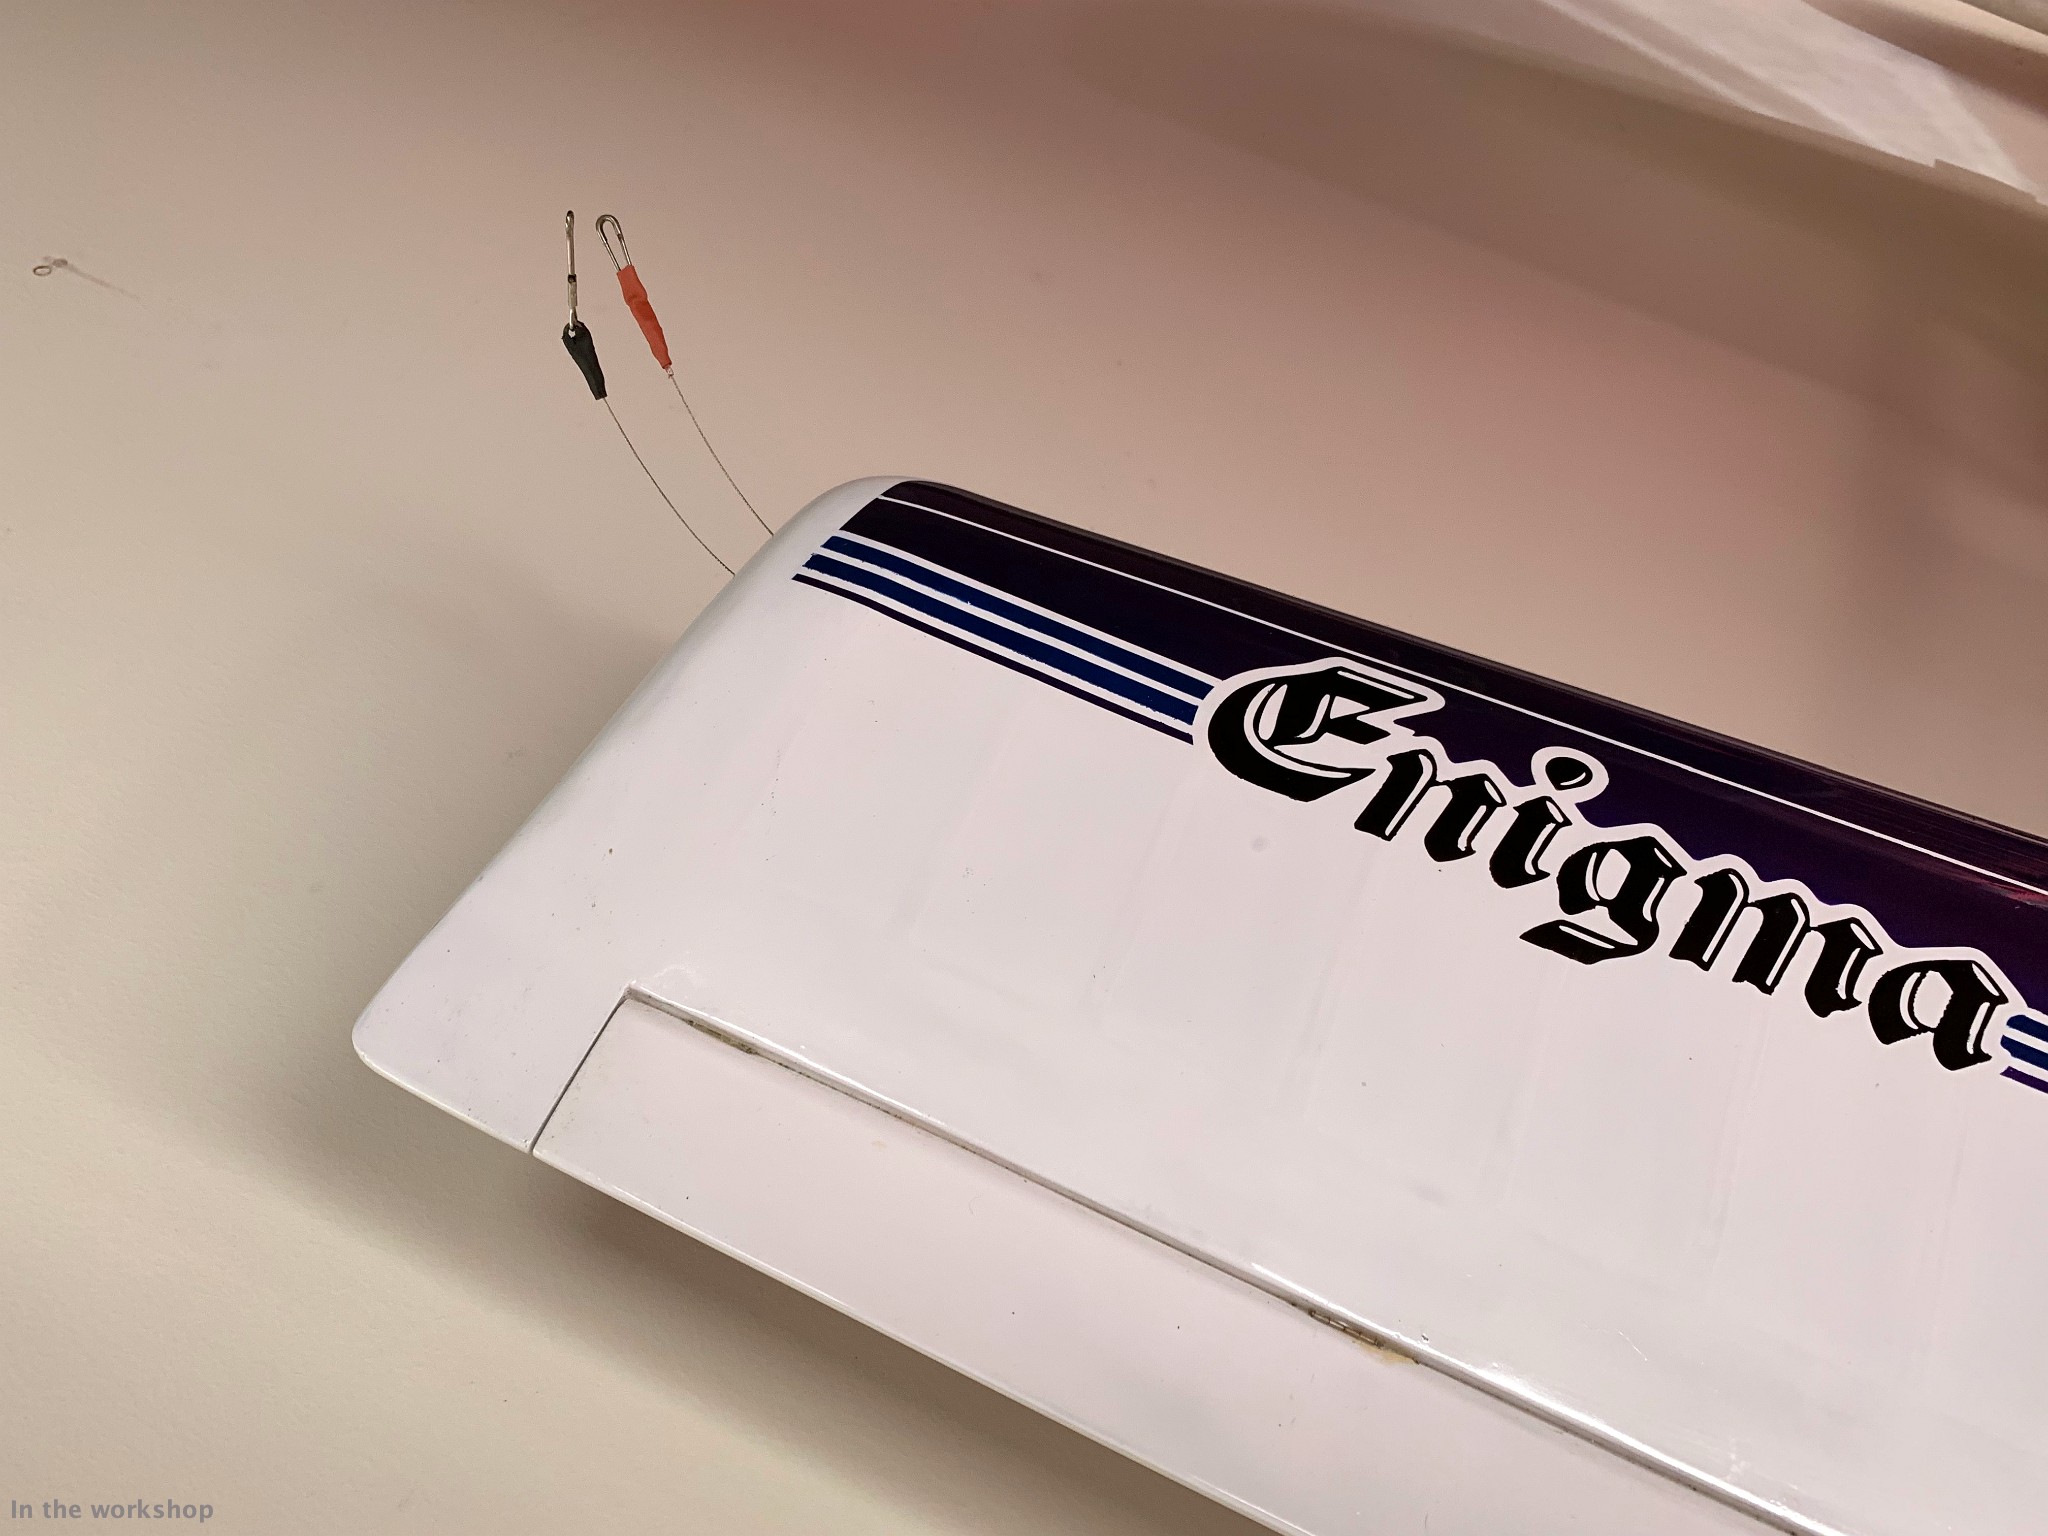
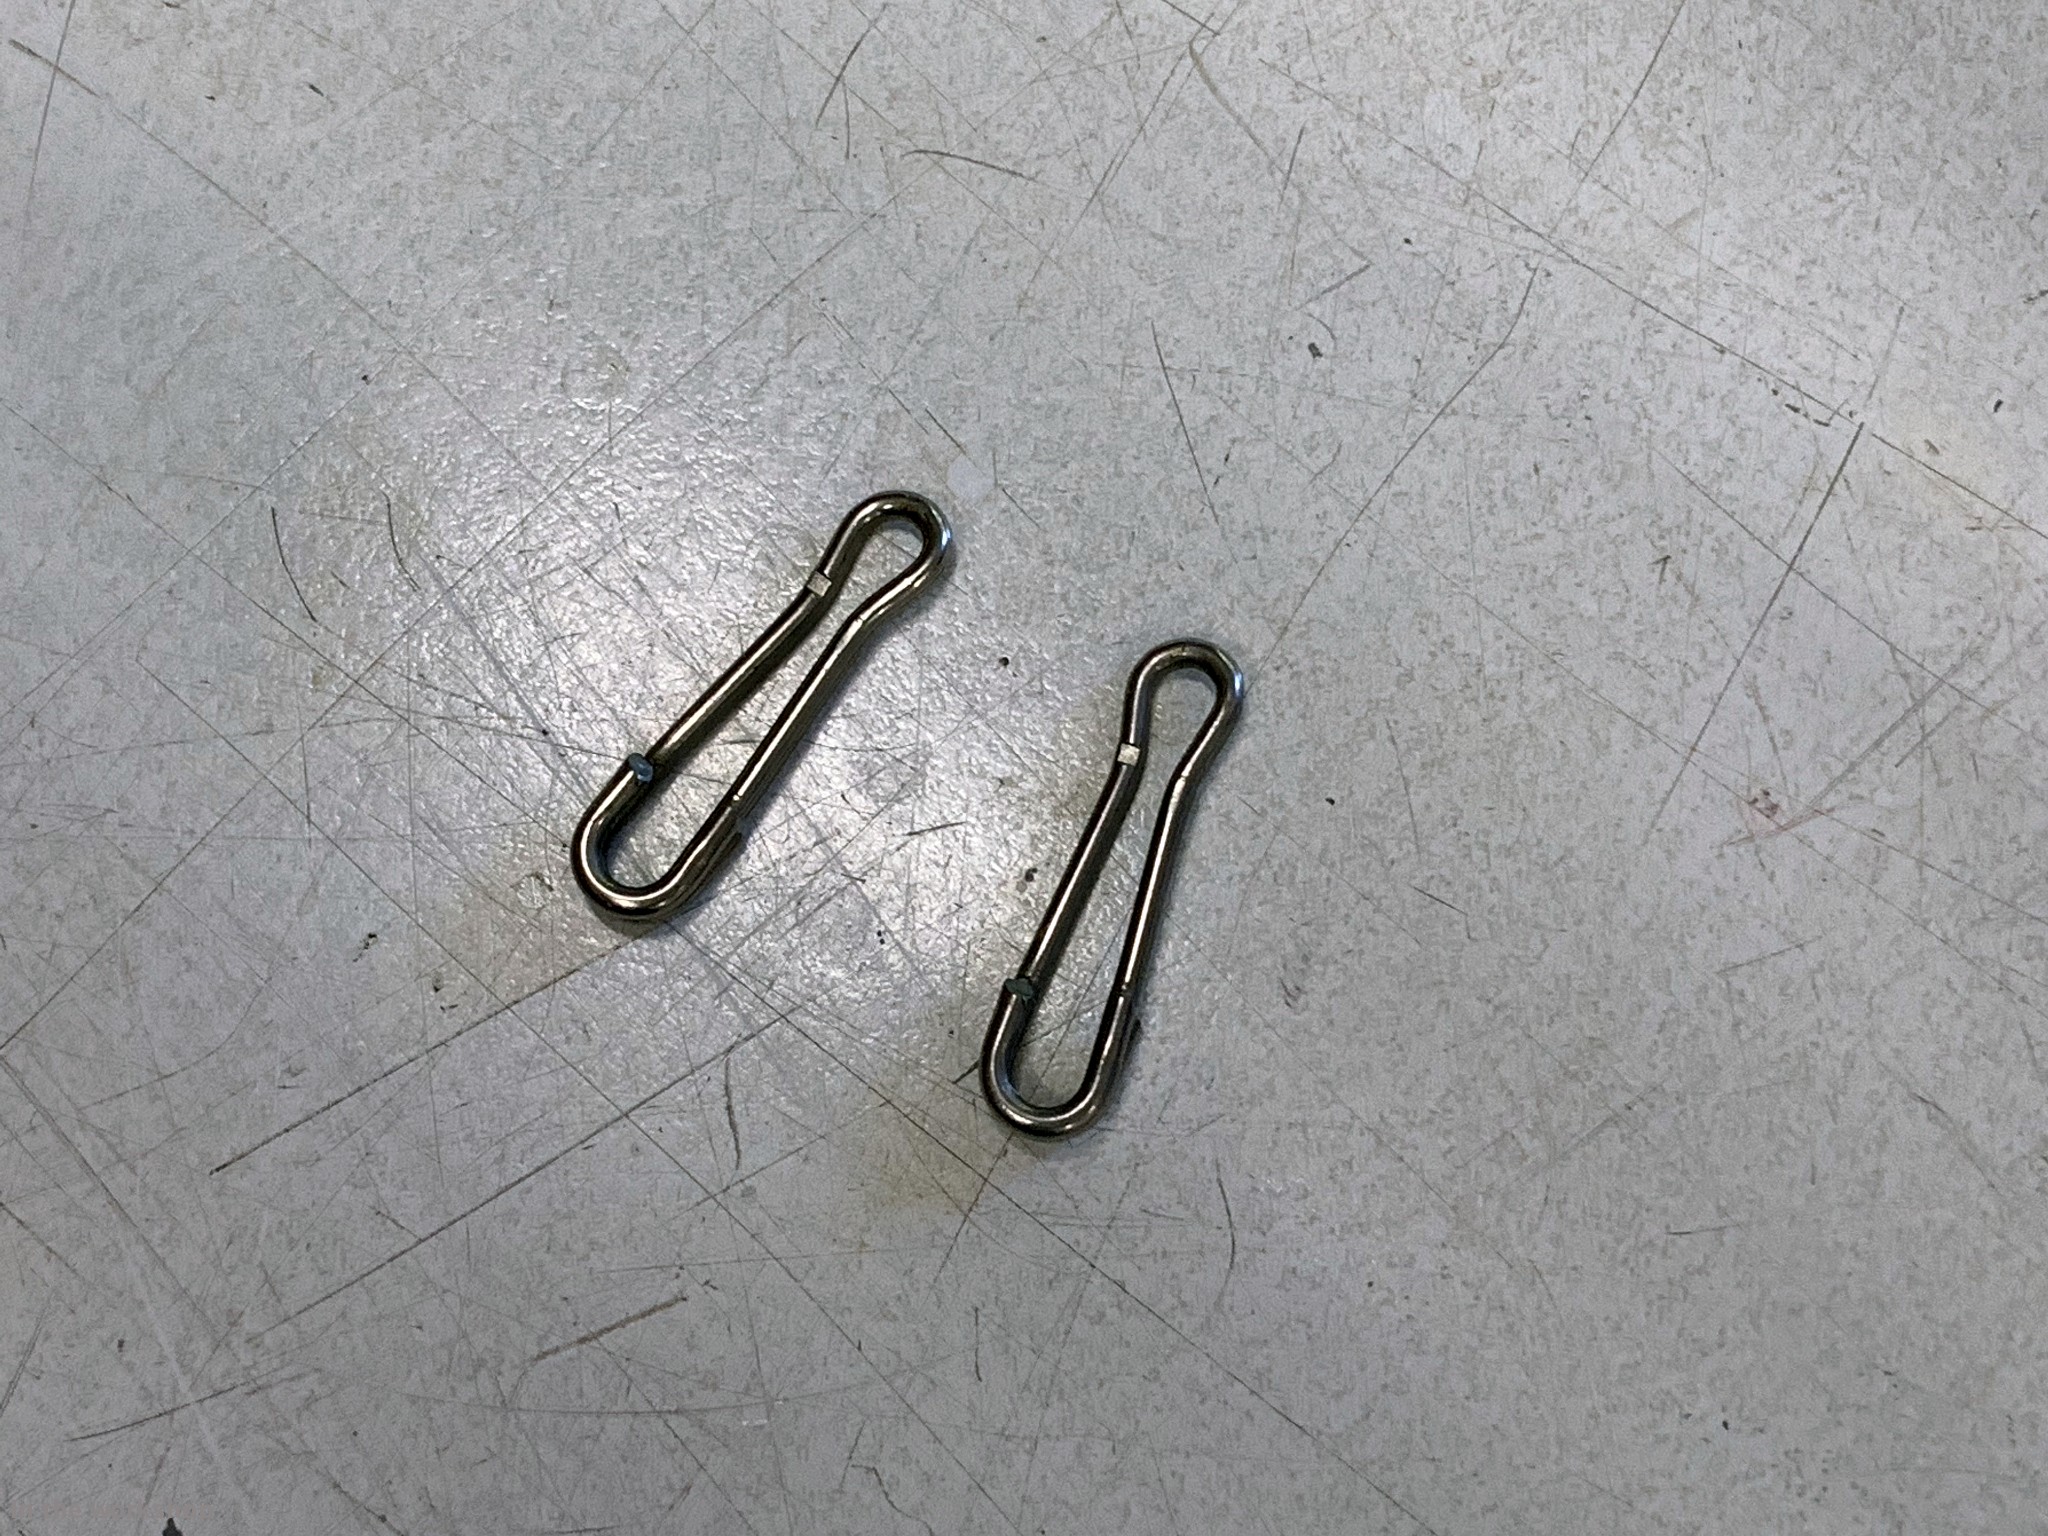
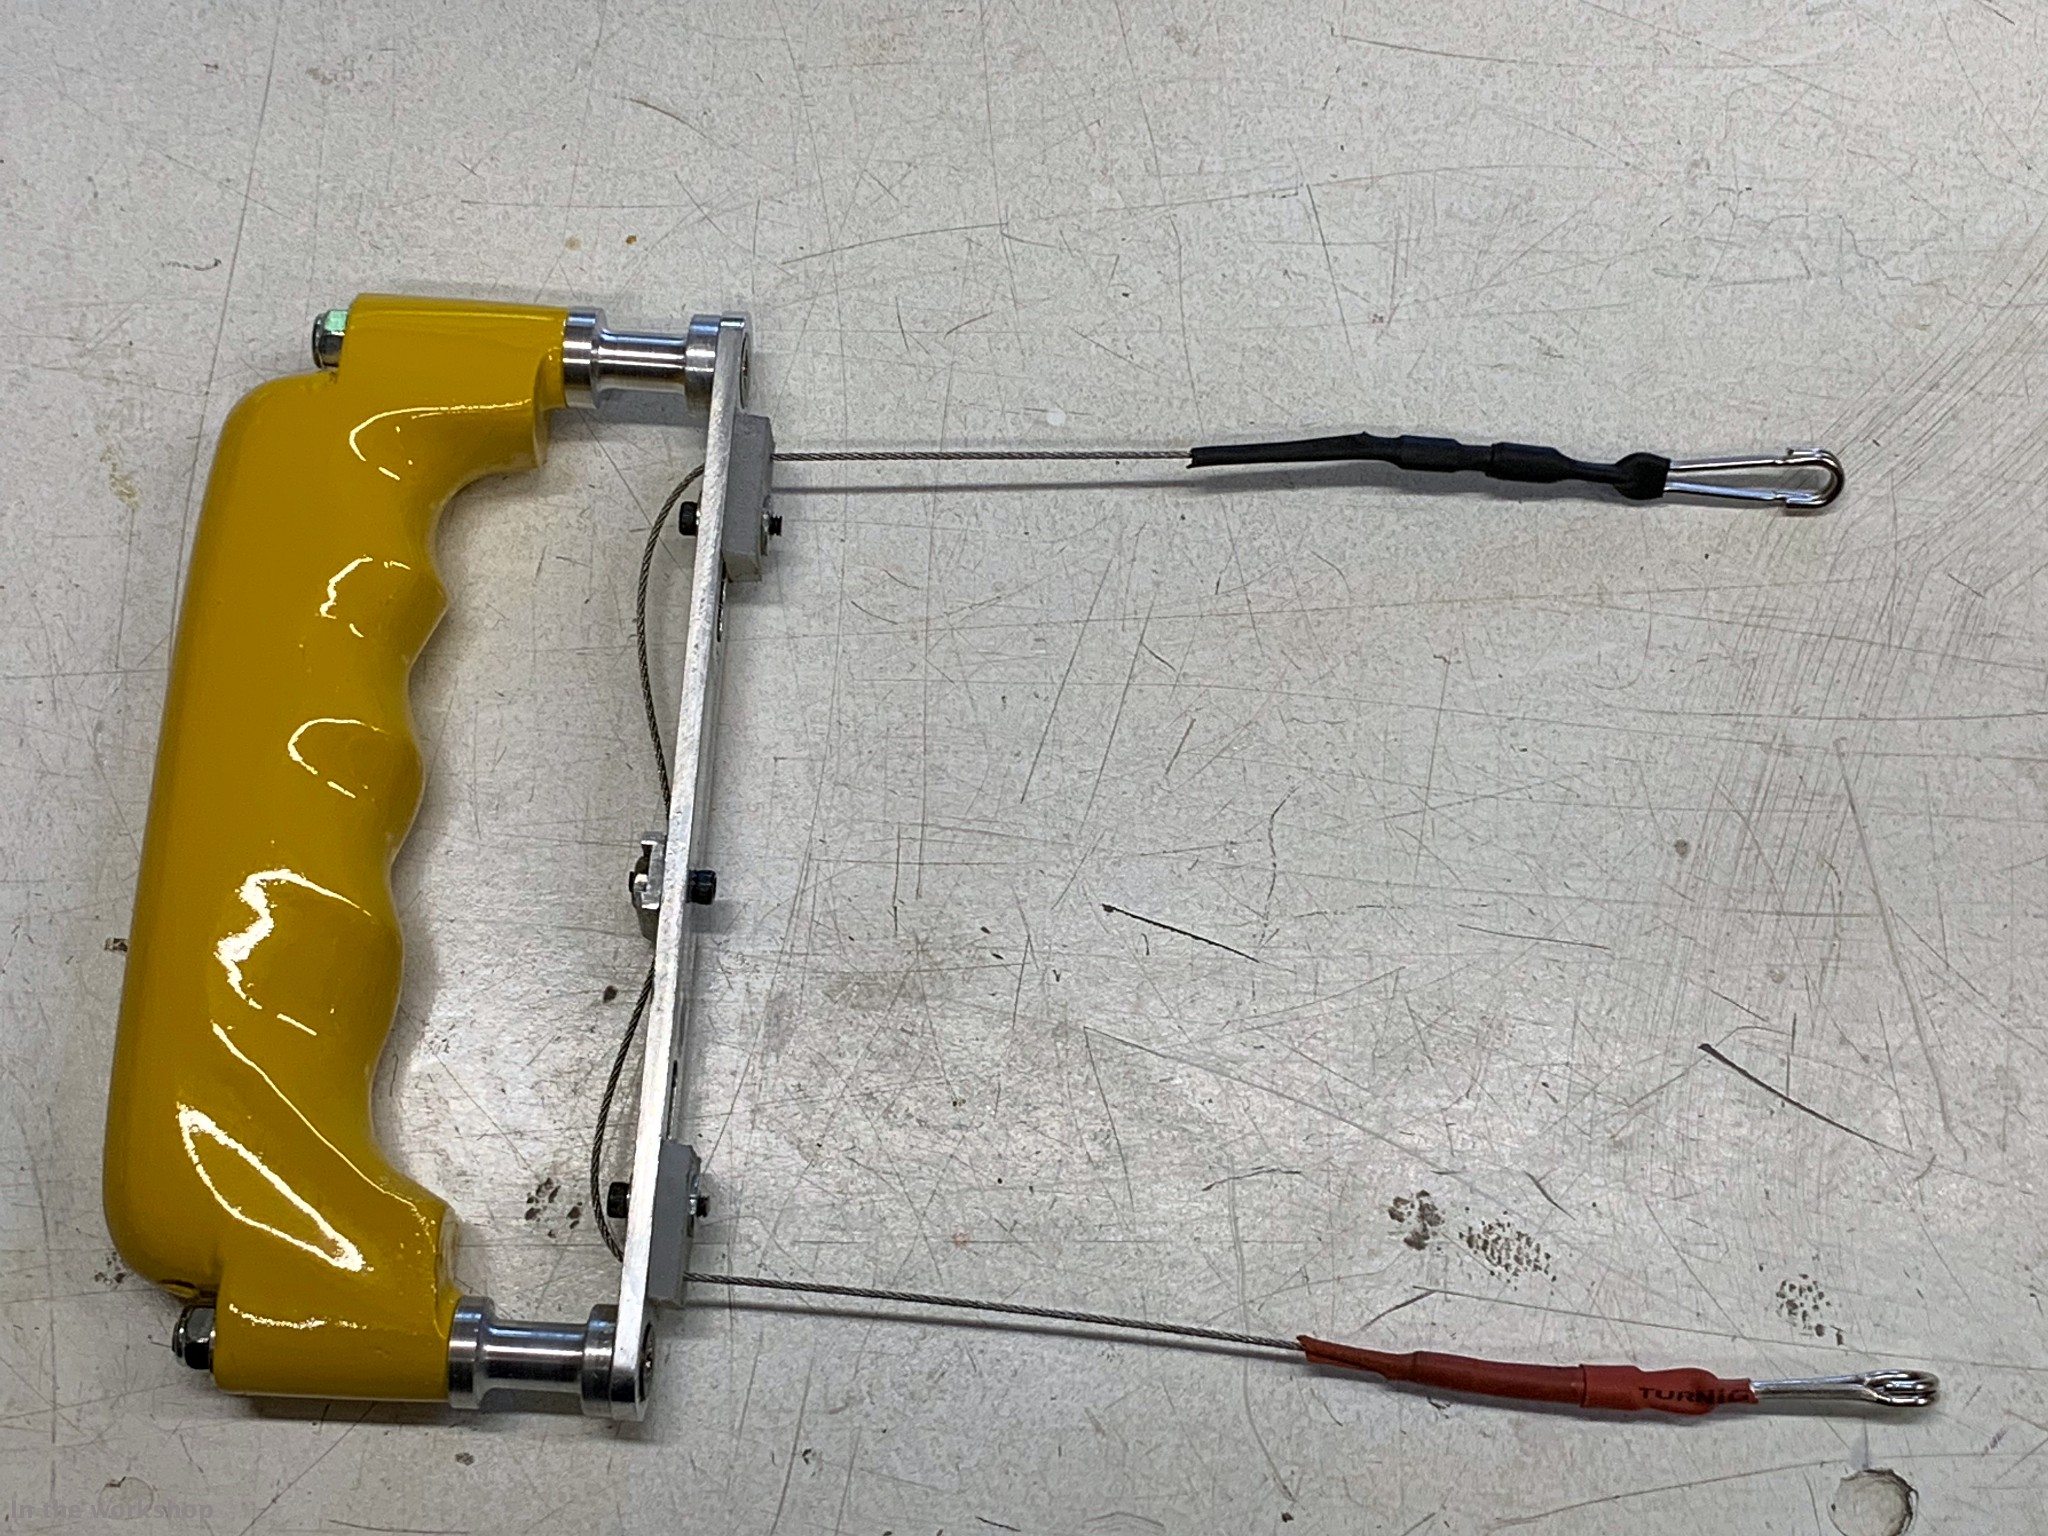
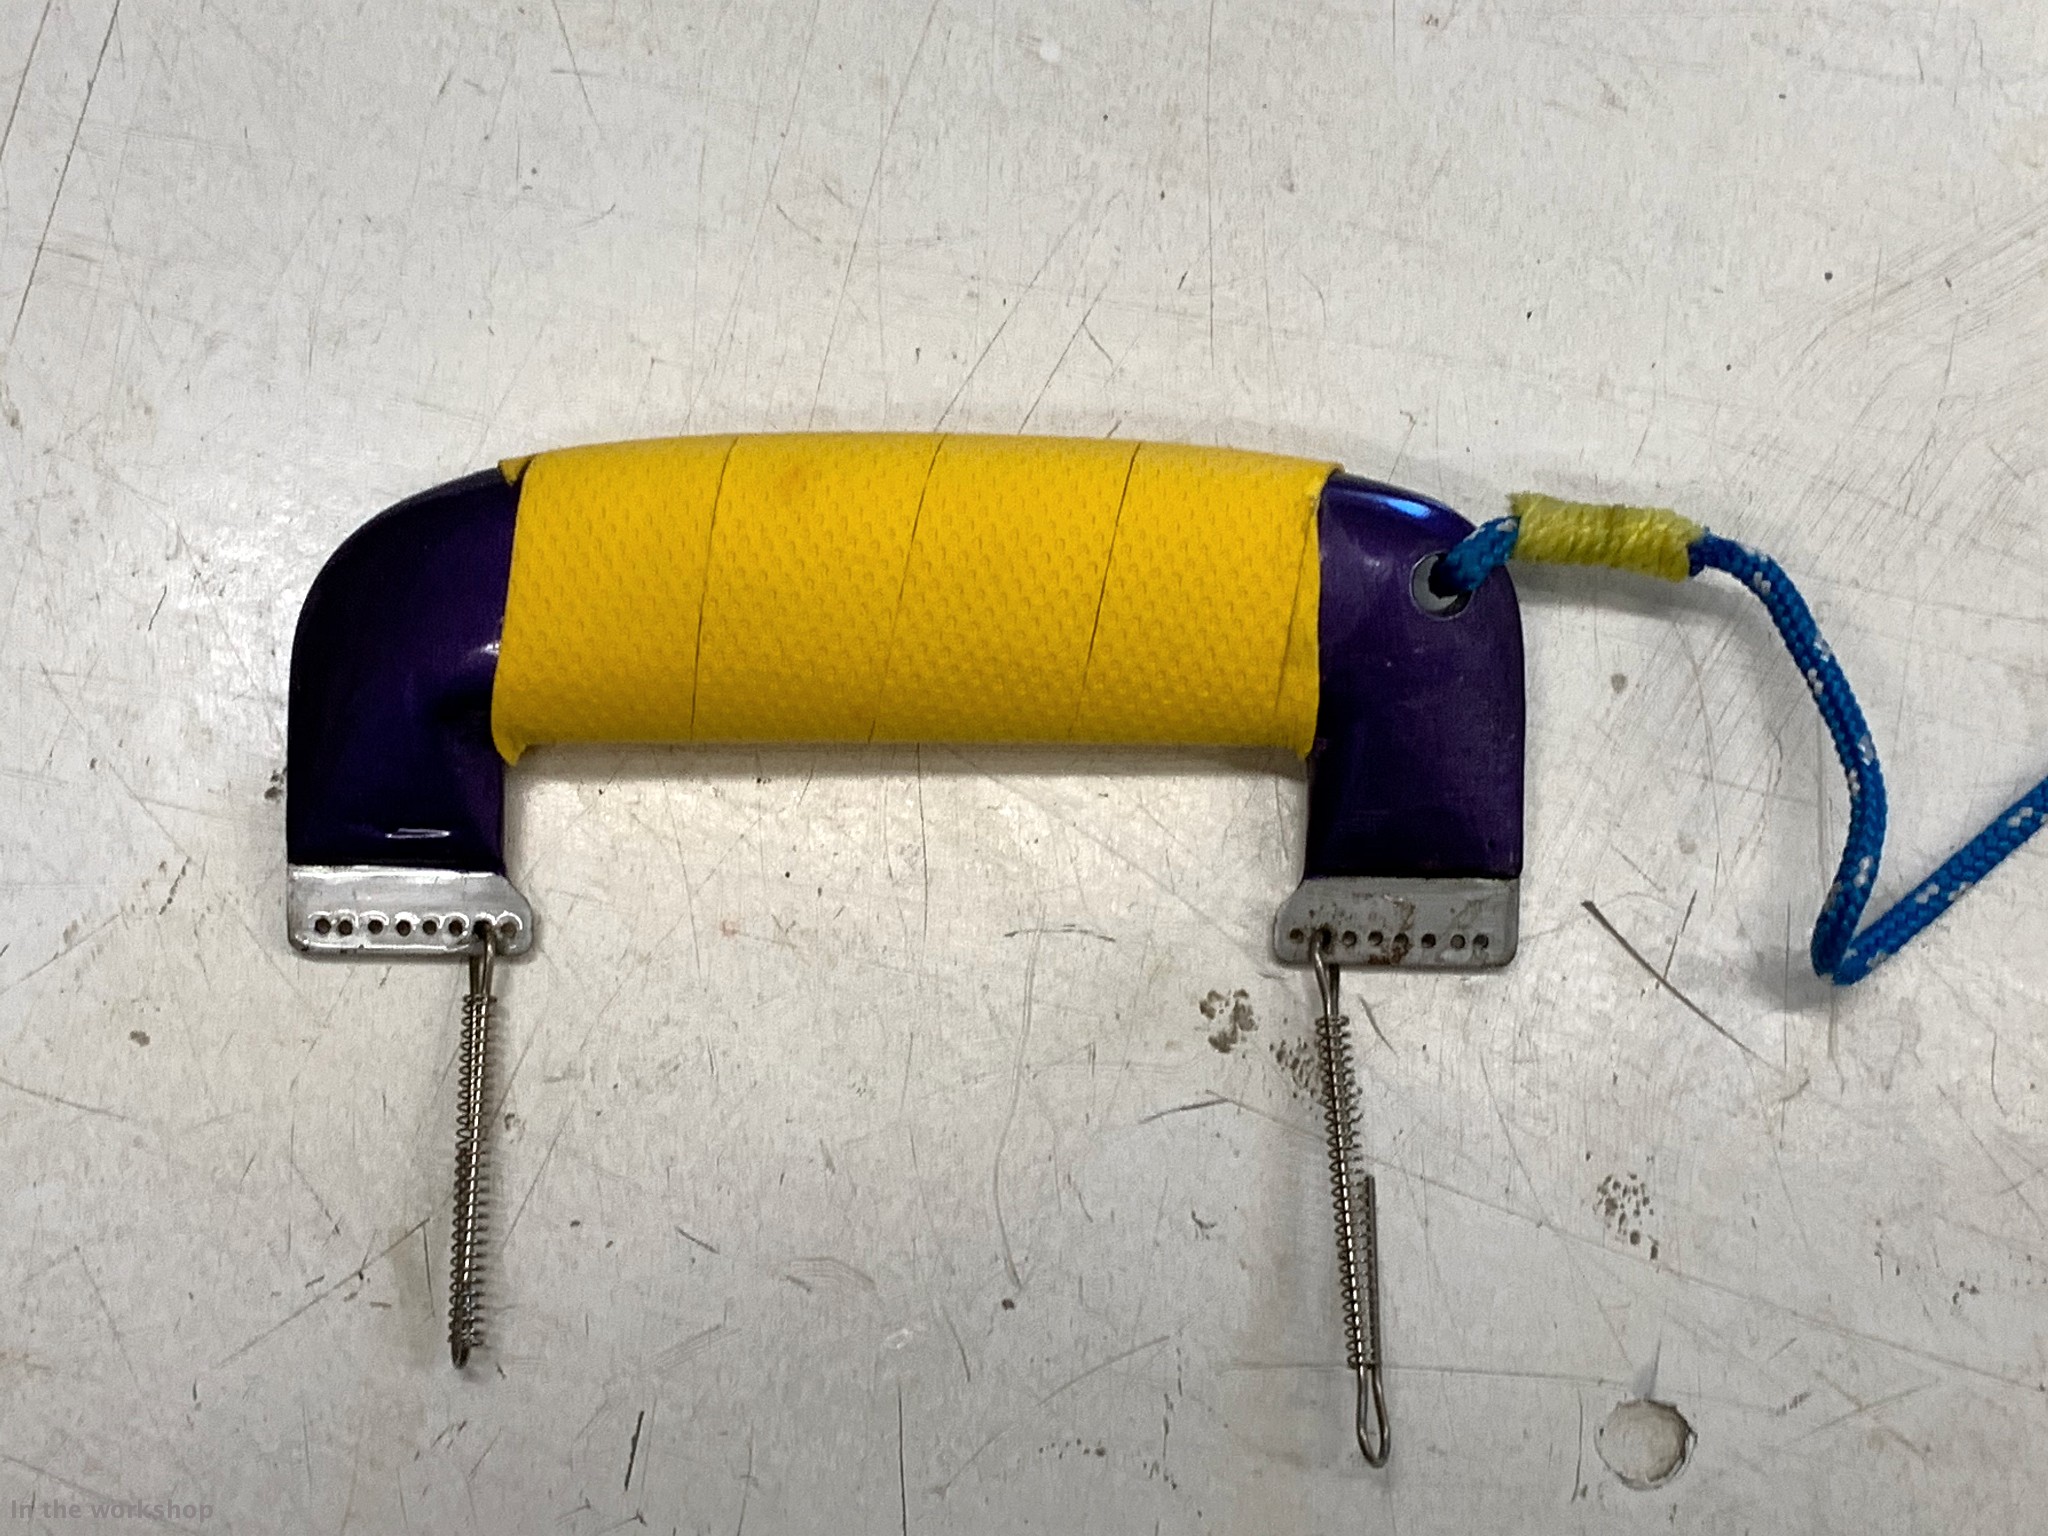
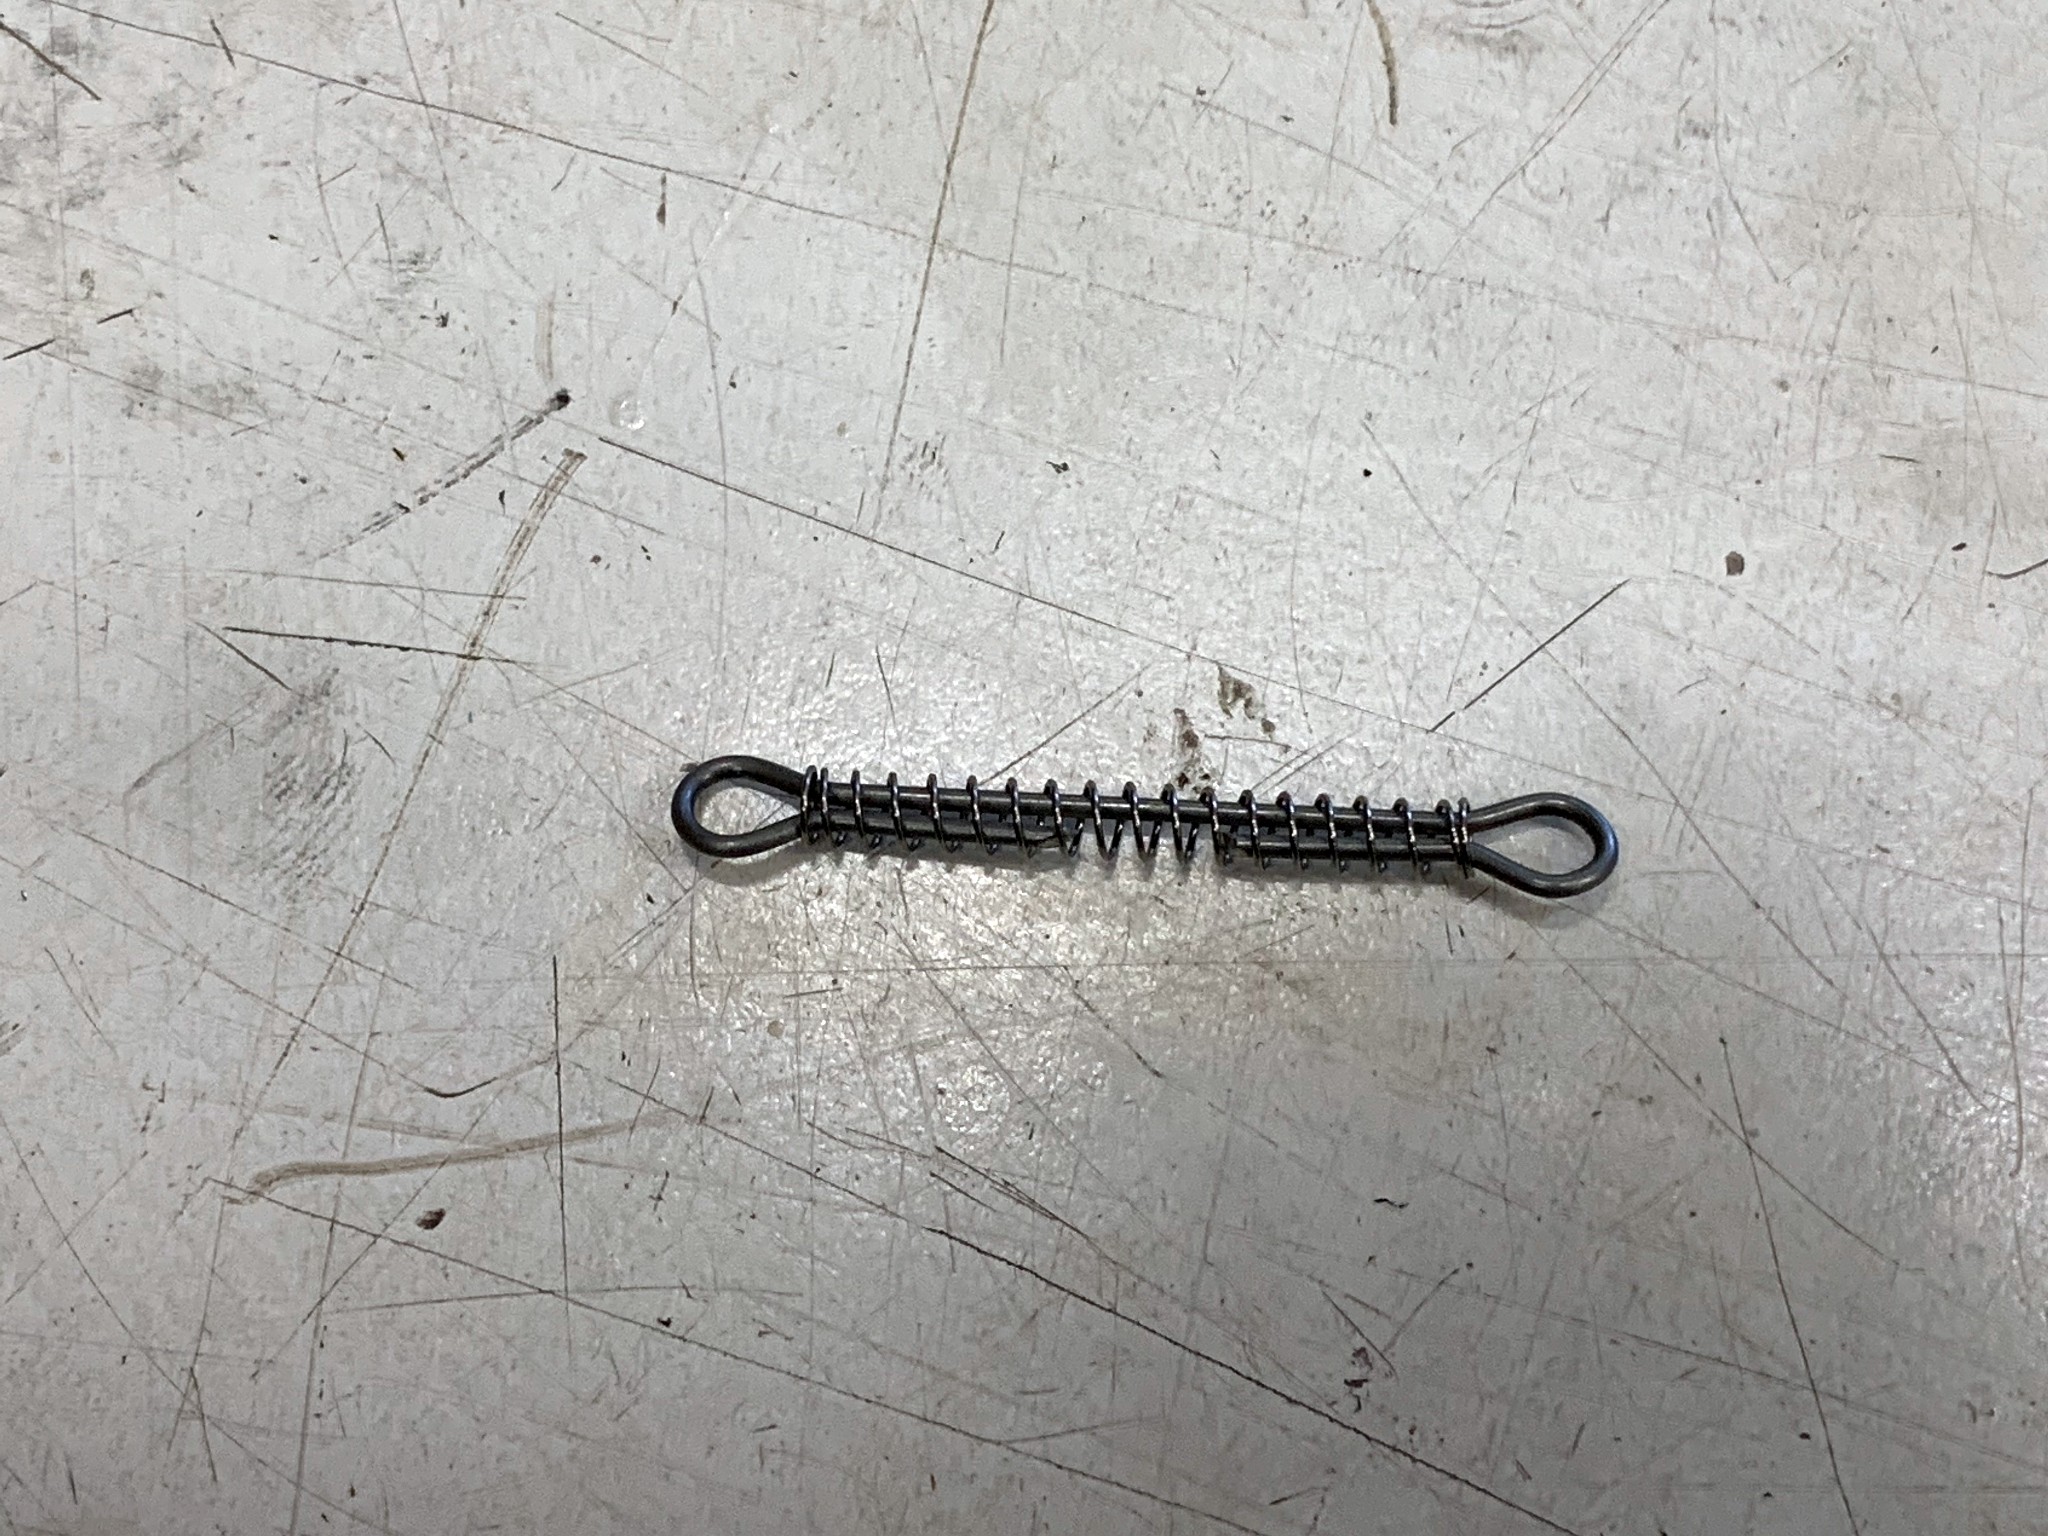
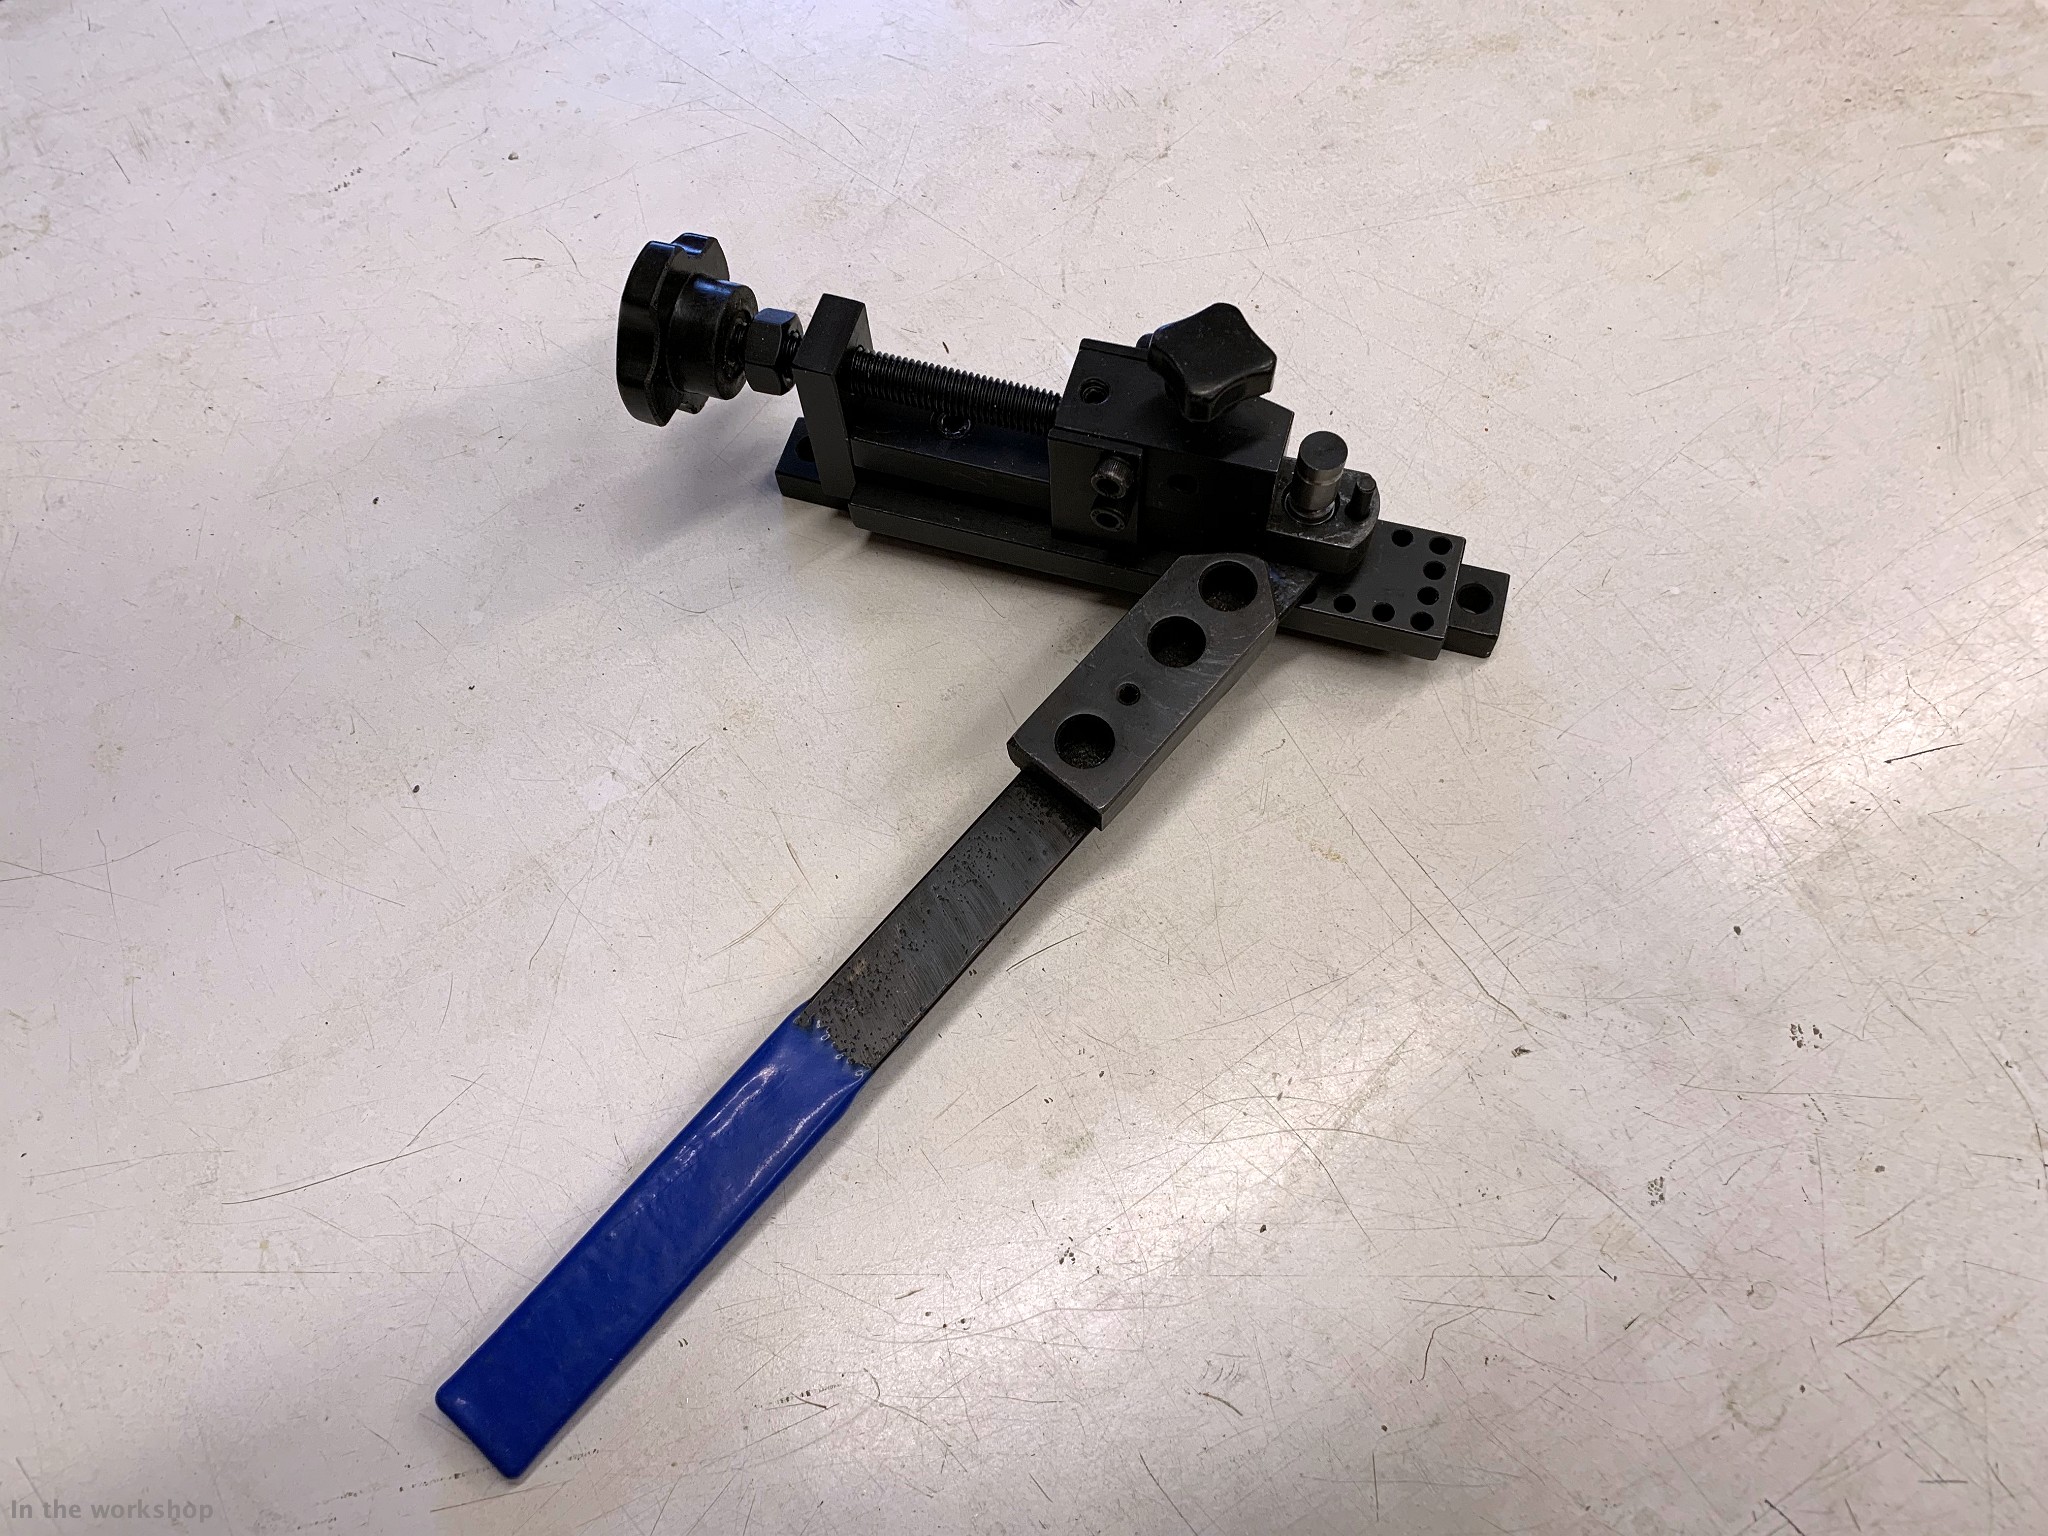
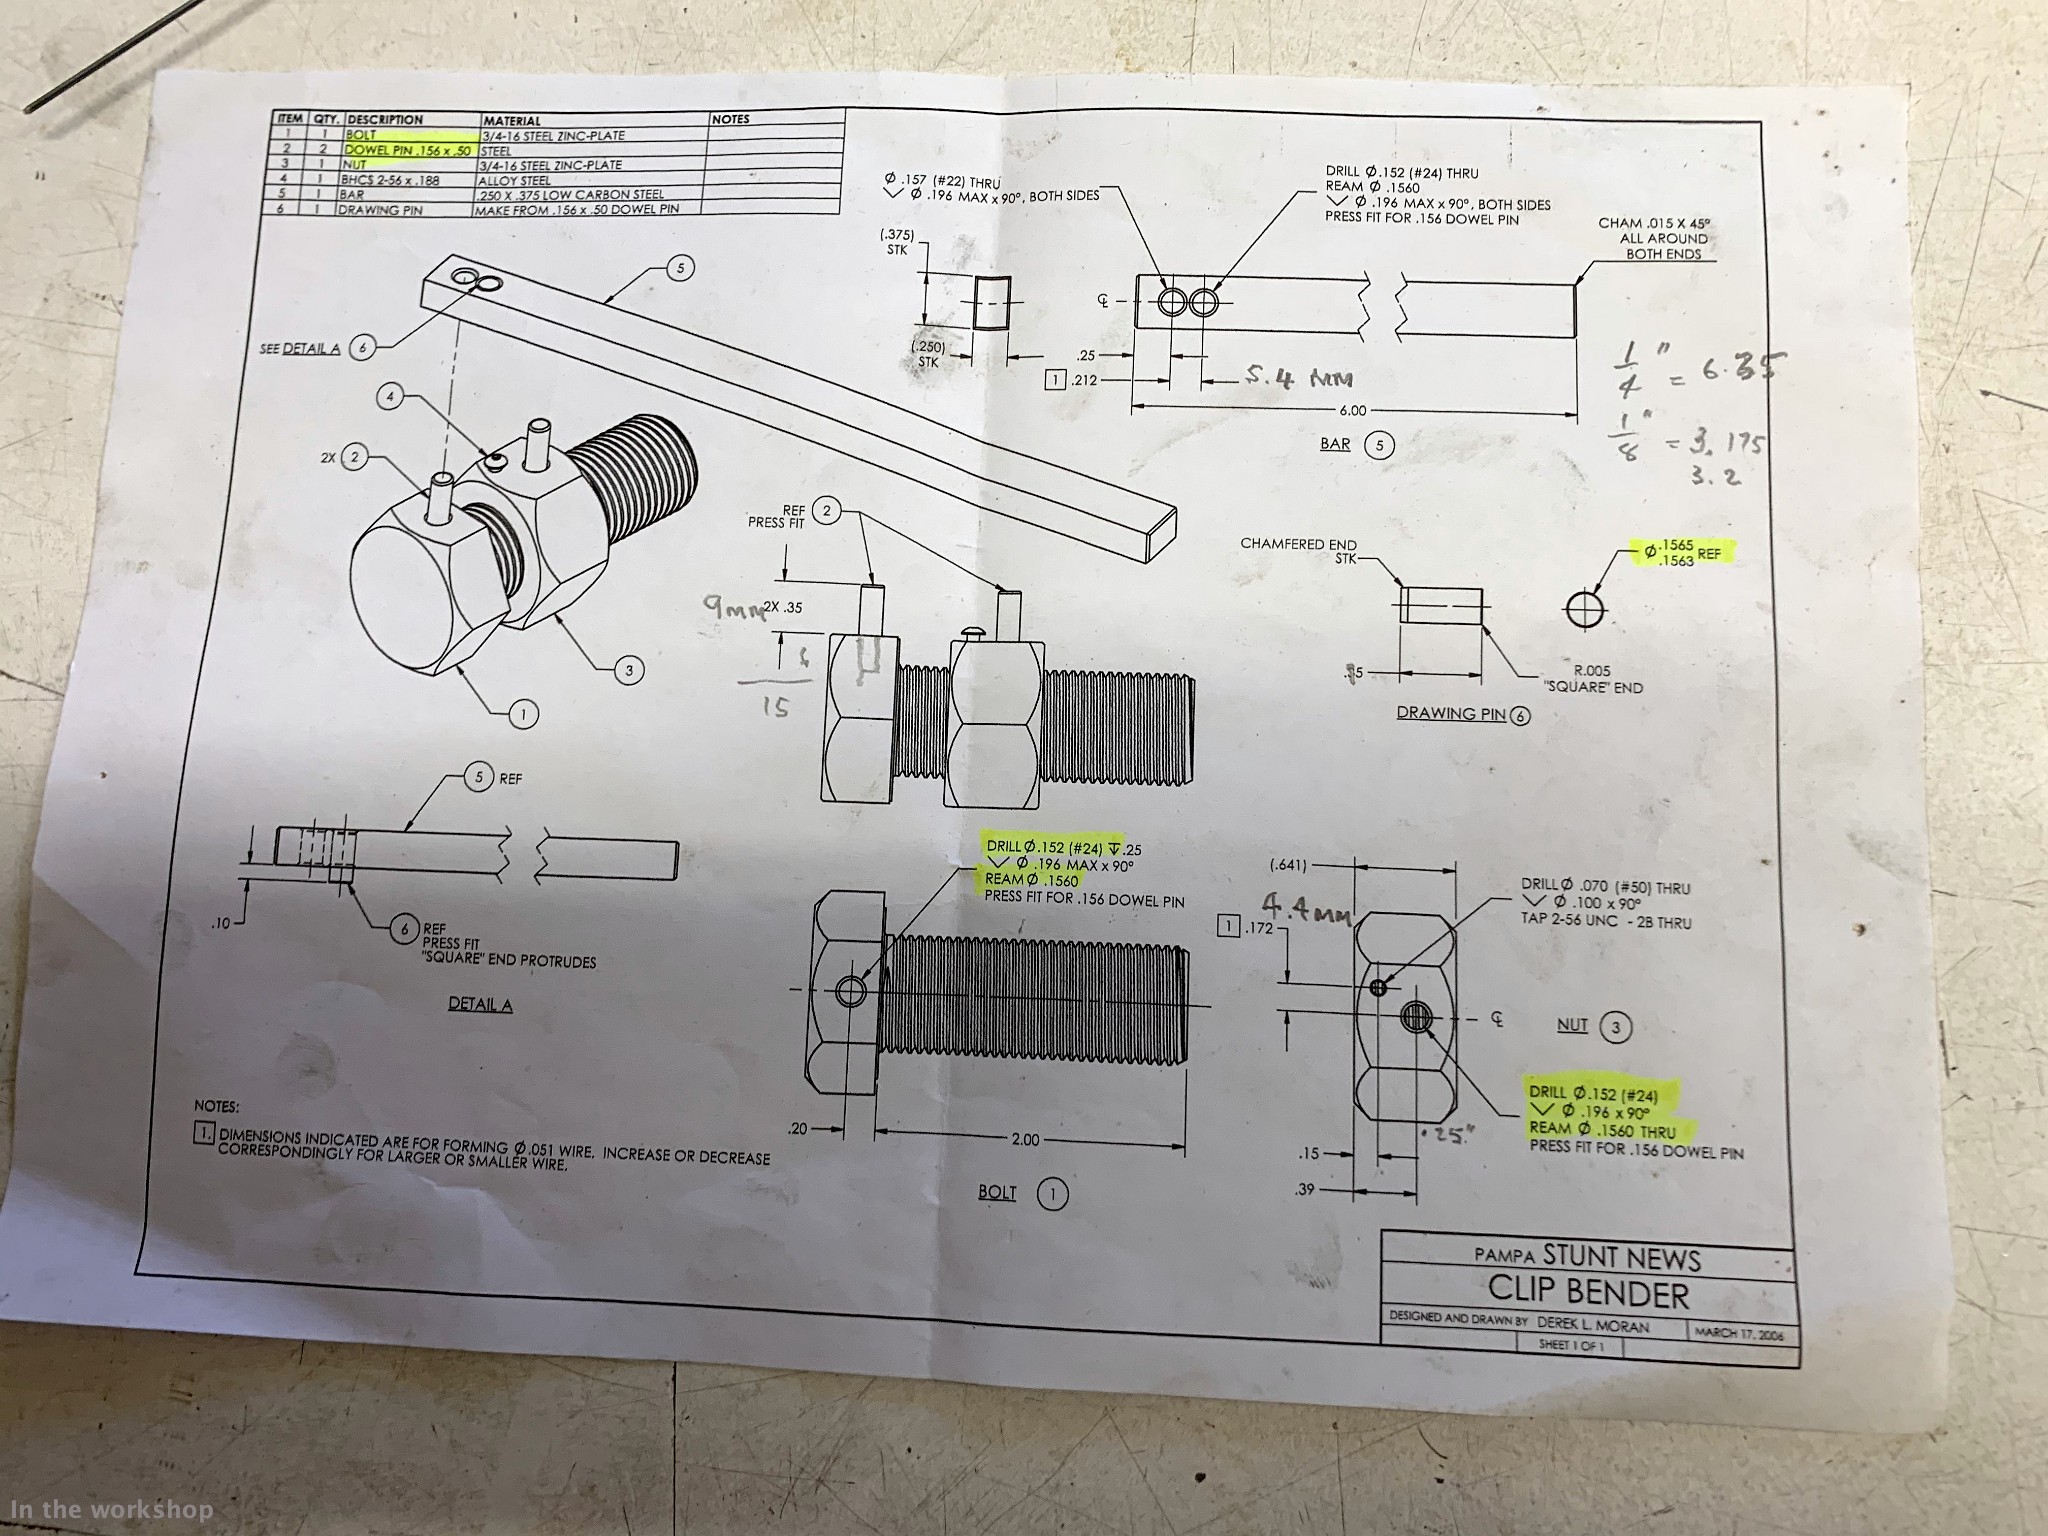
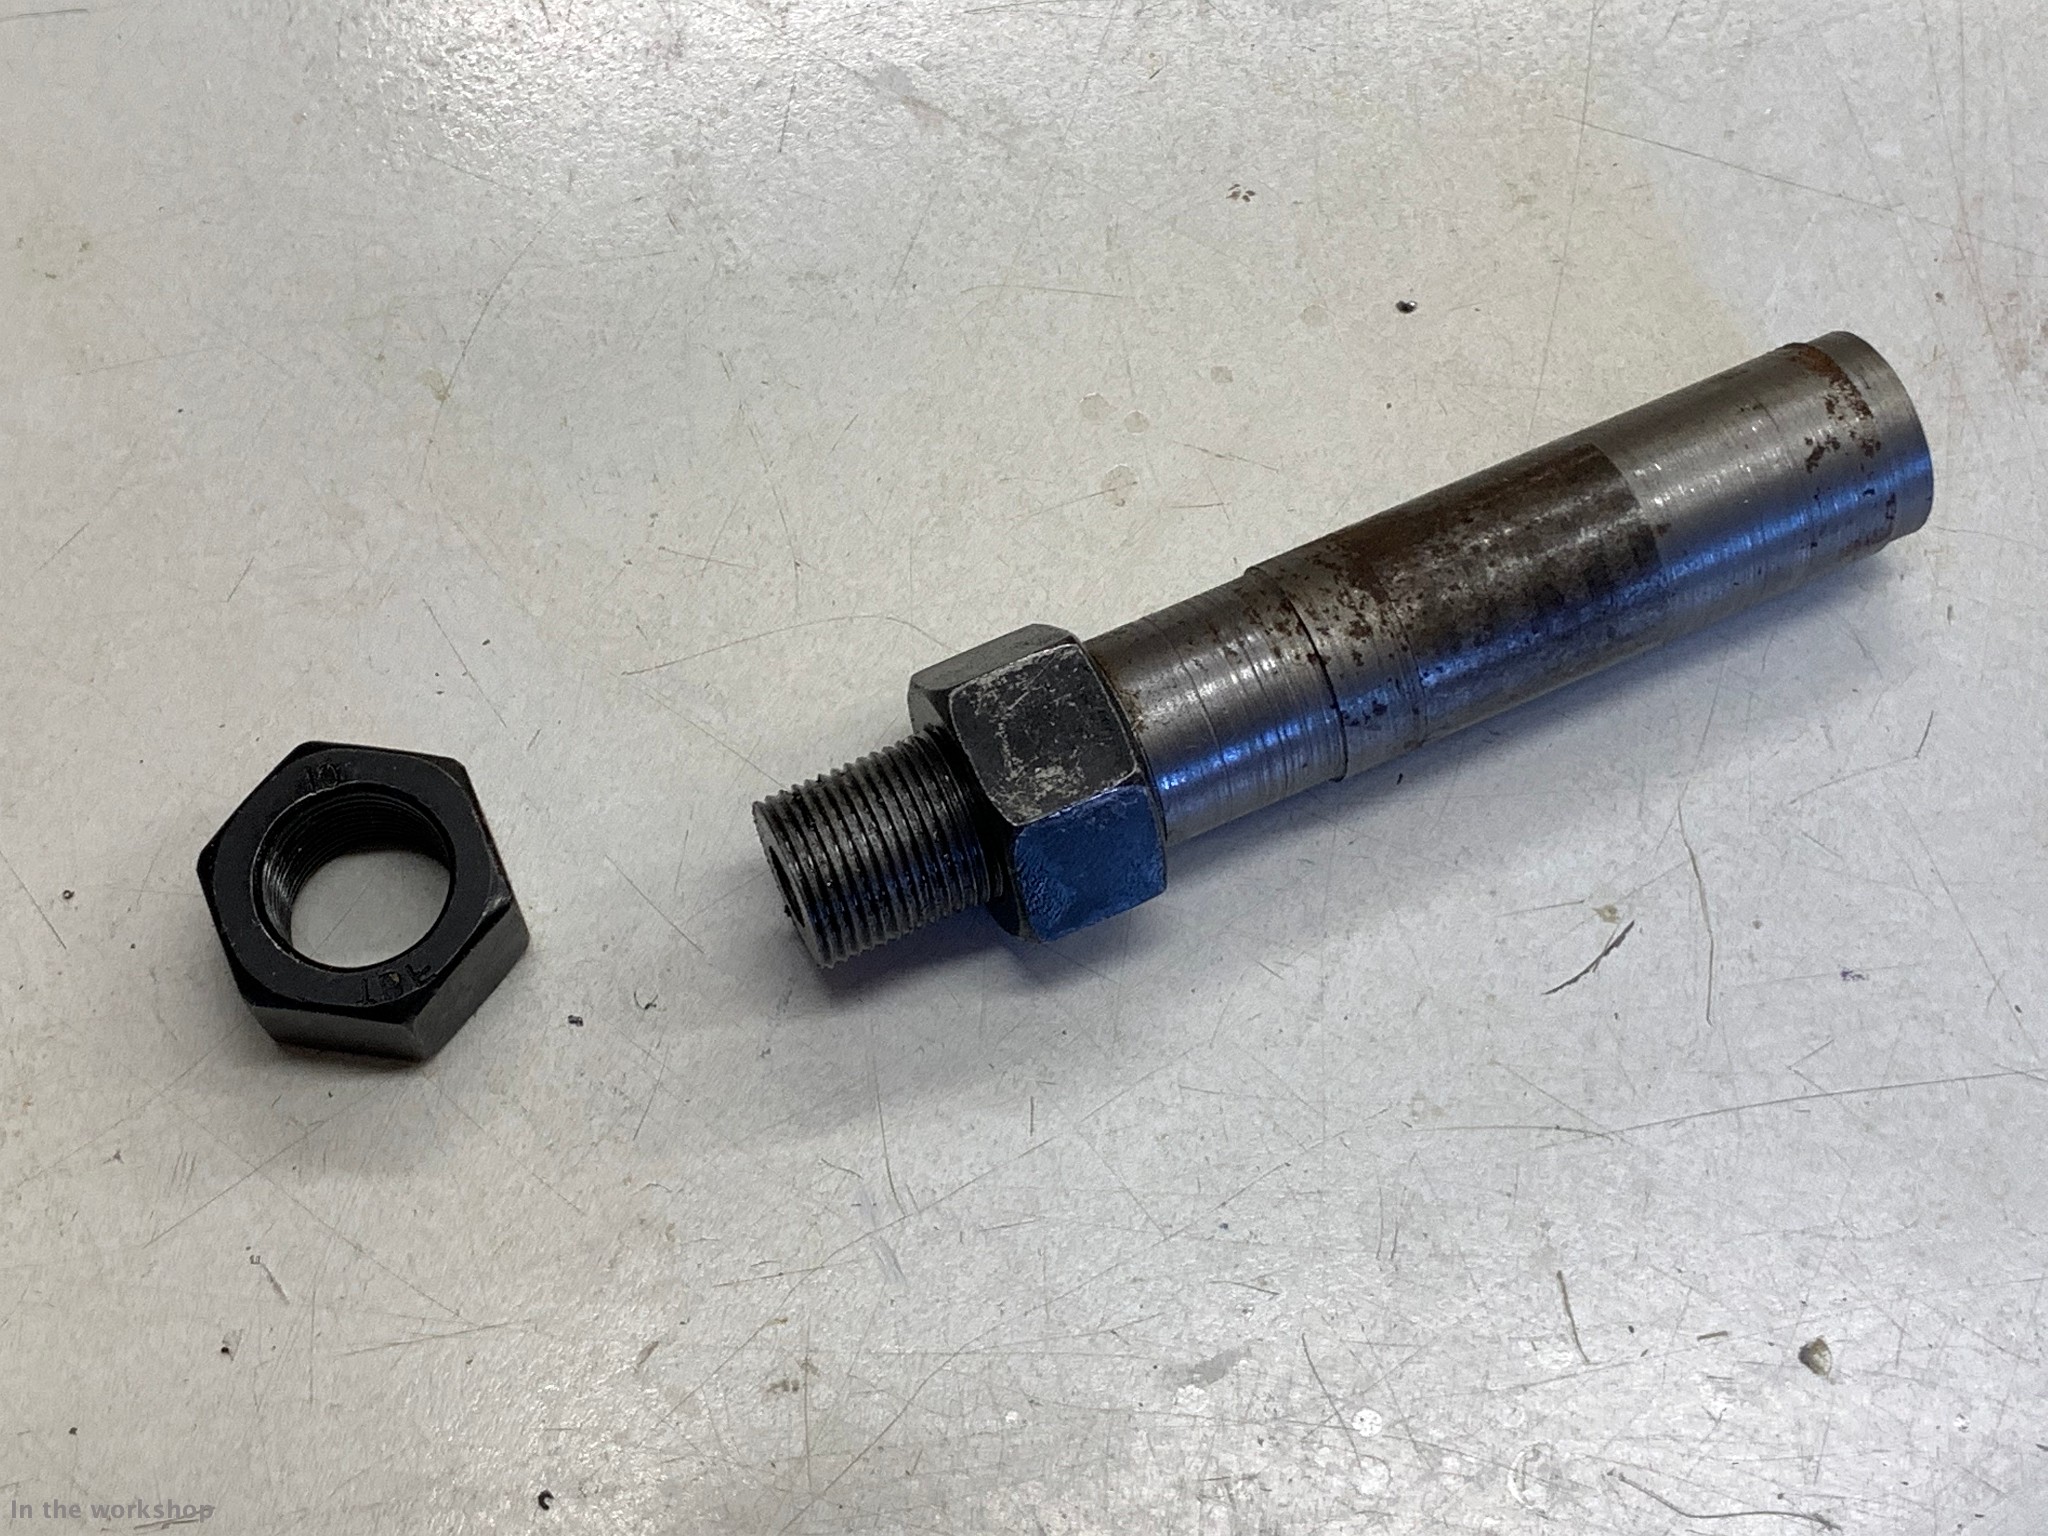
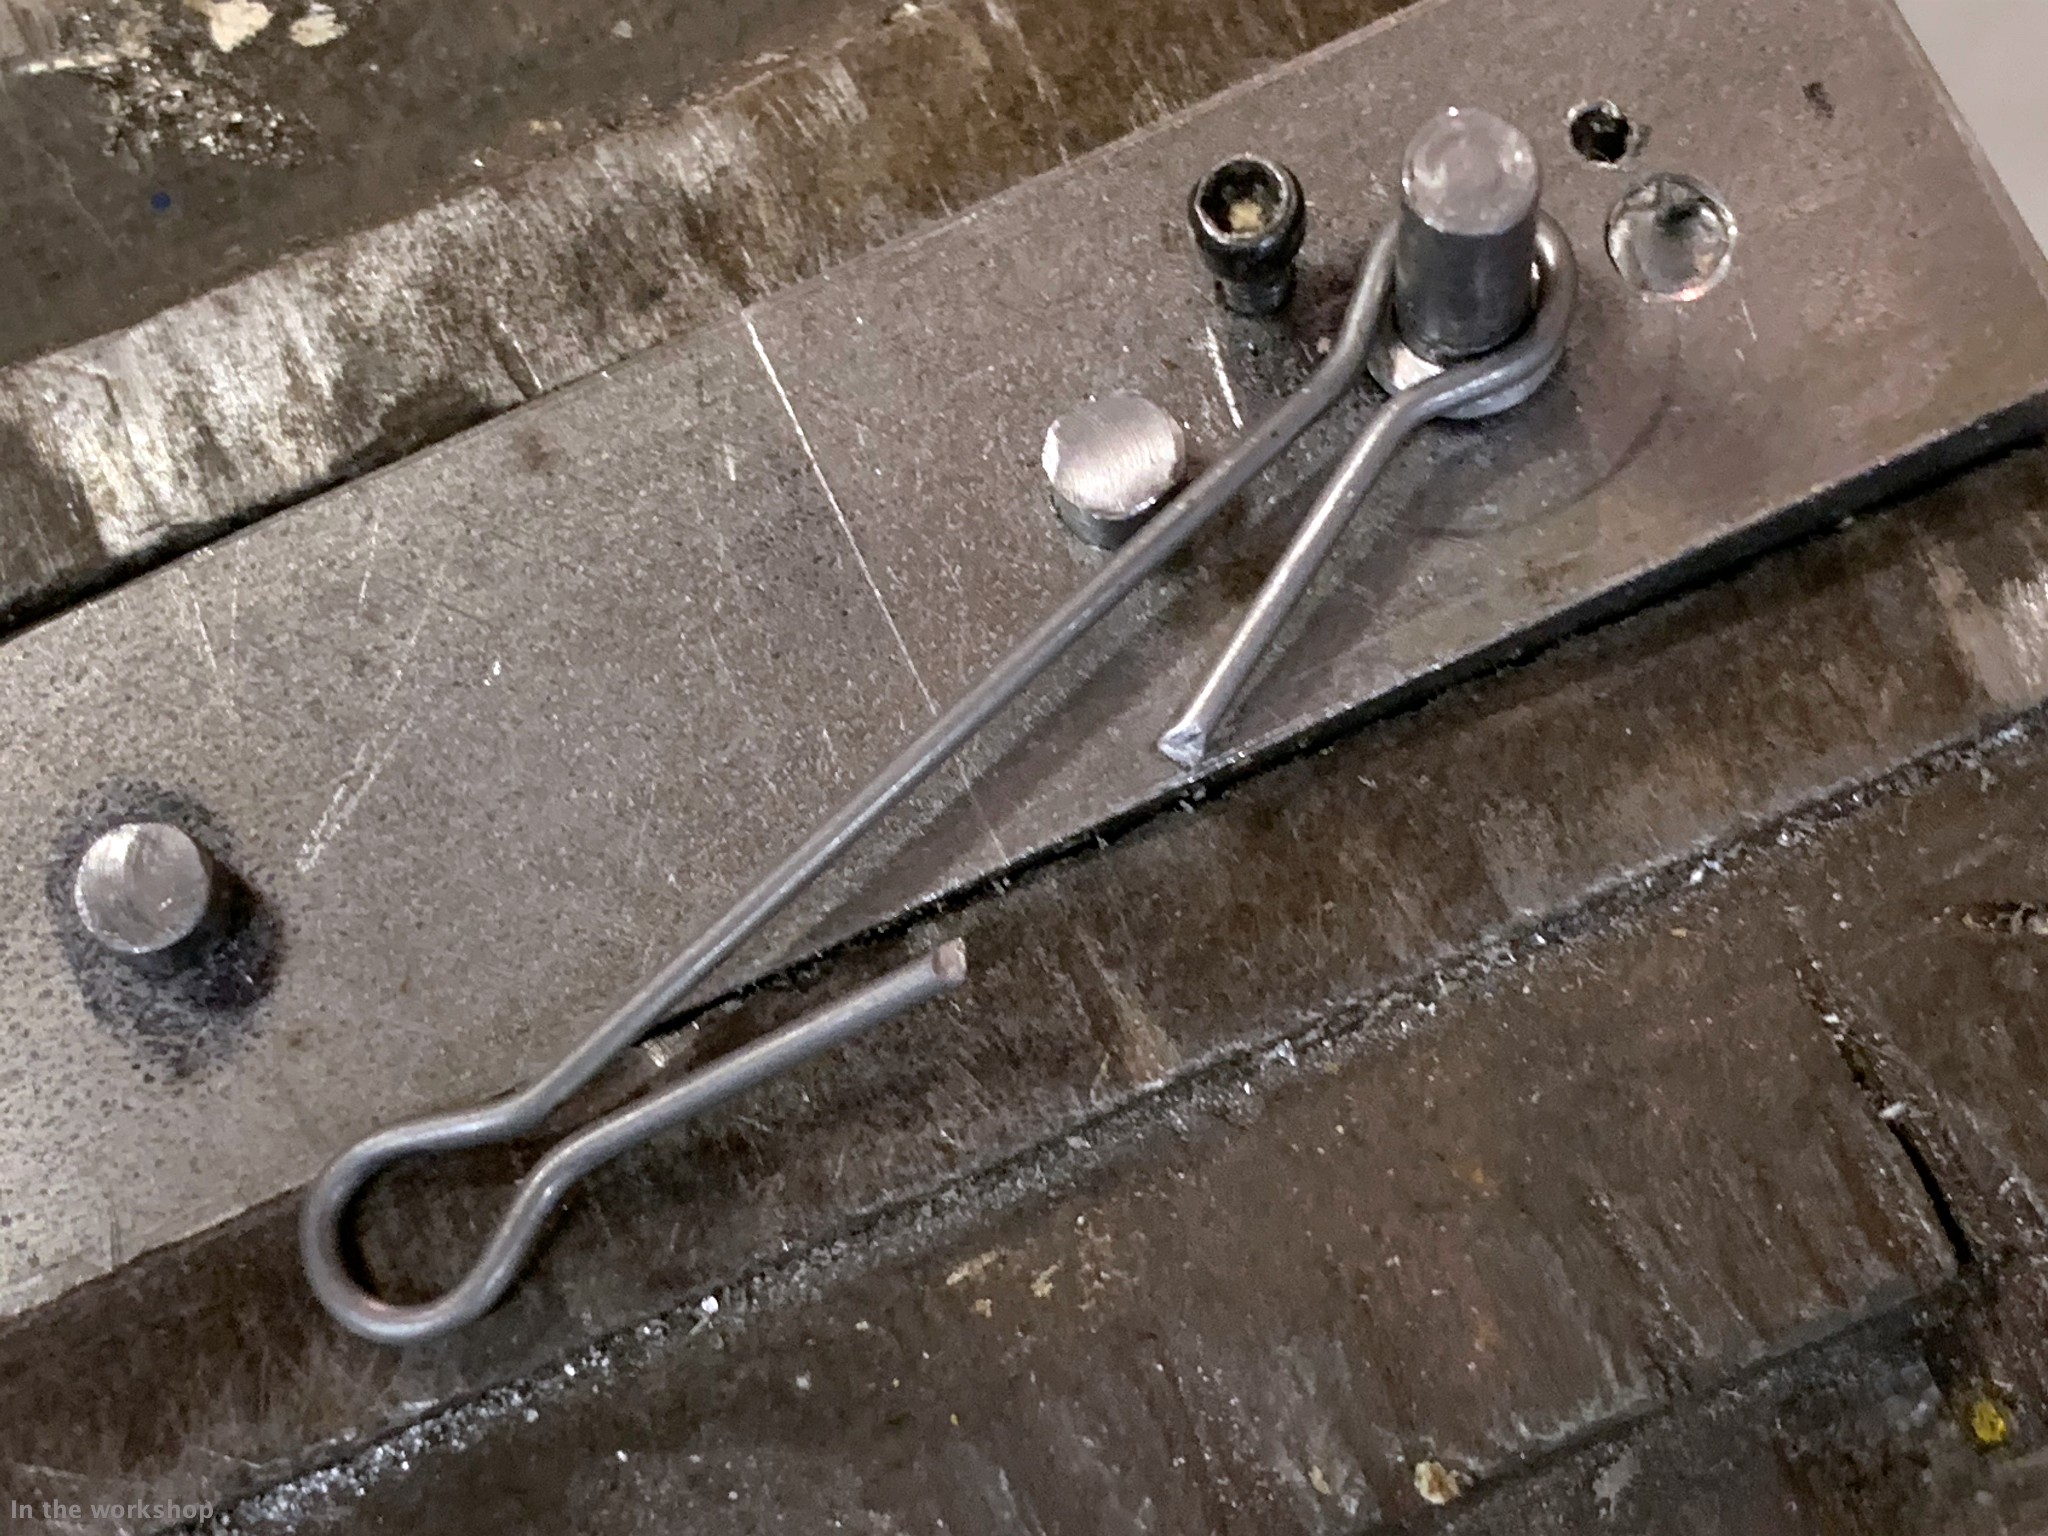
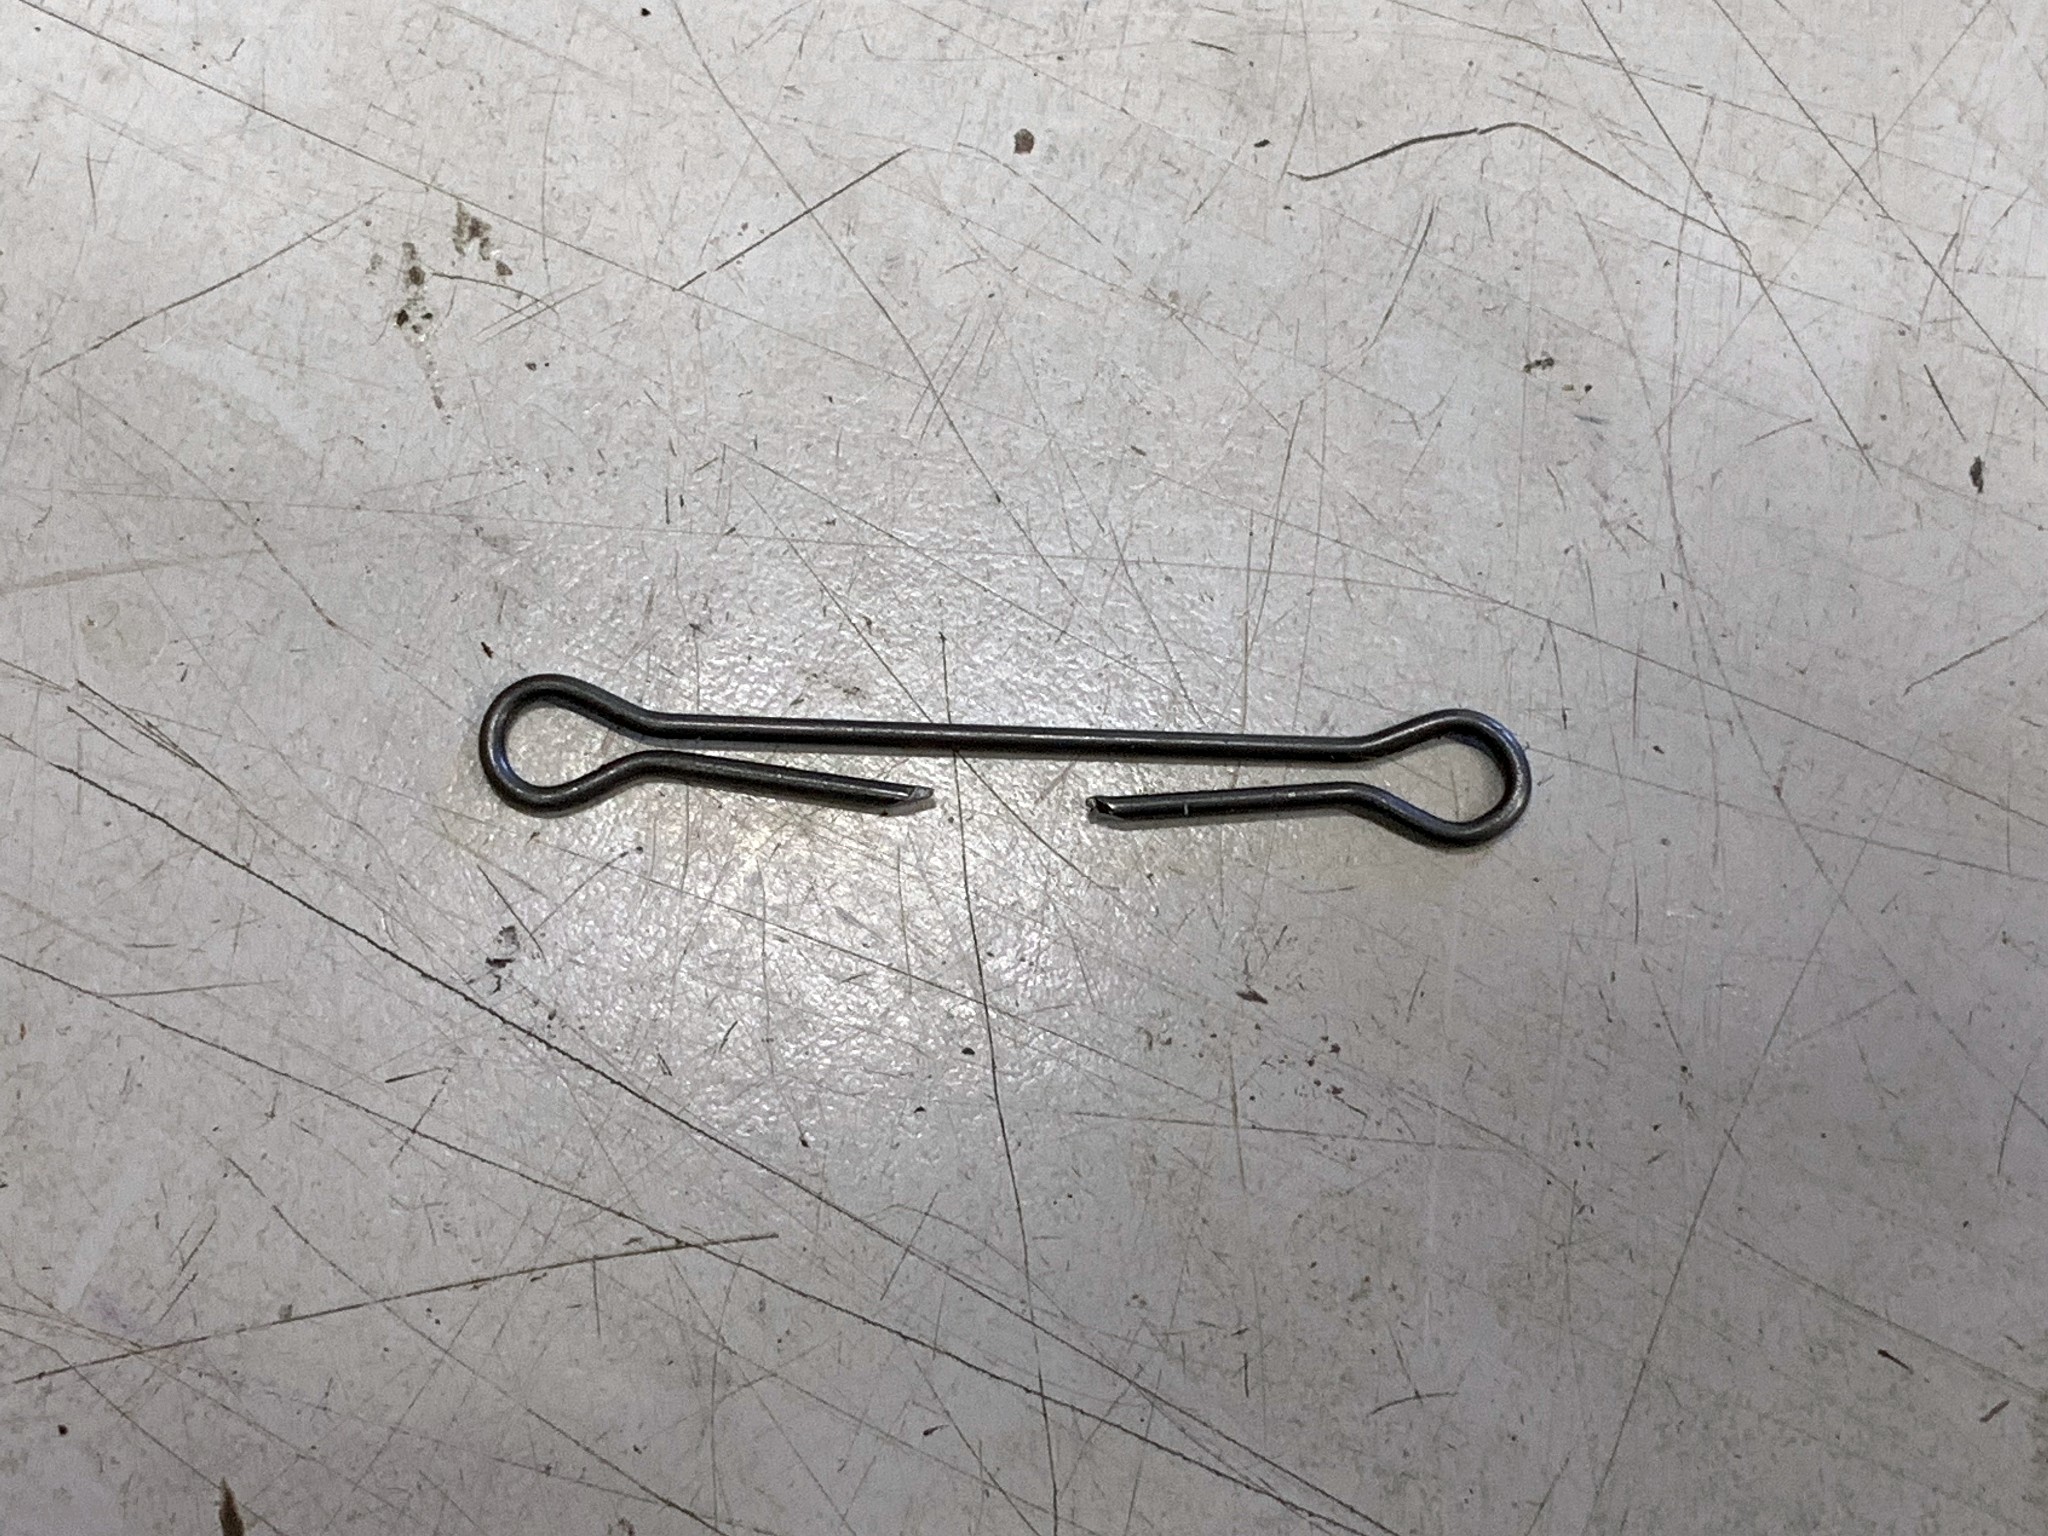
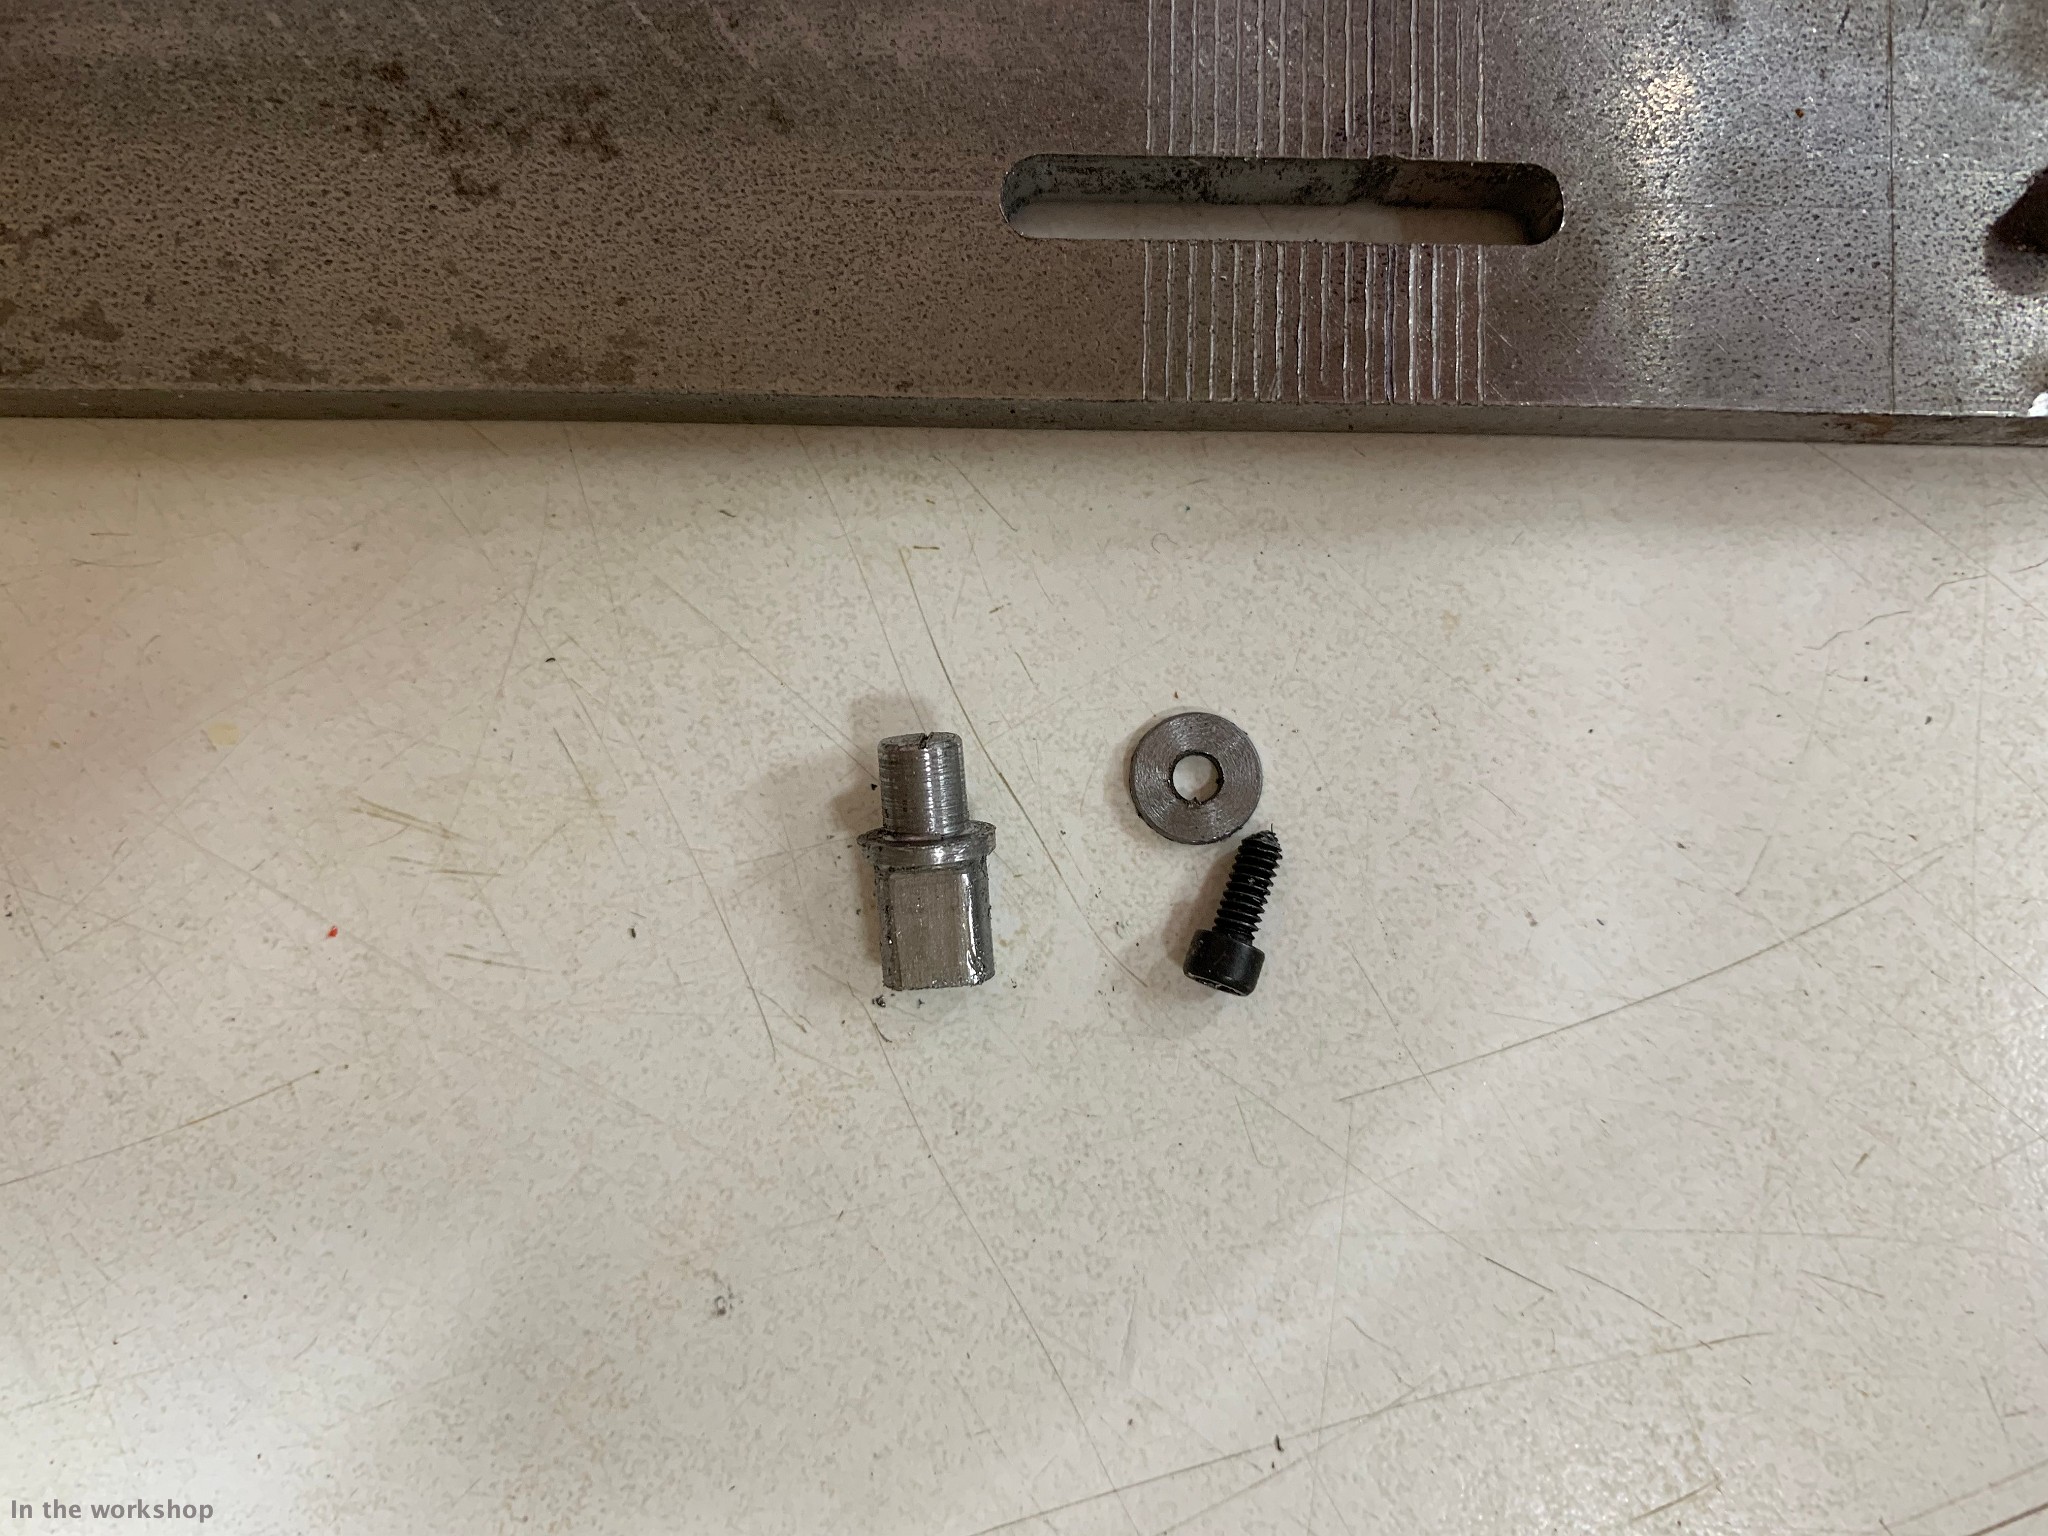
Control line clips project
Next:
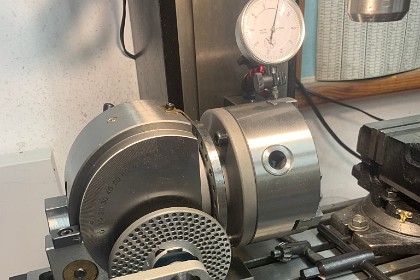
2020 New addition to the mill
Previous:
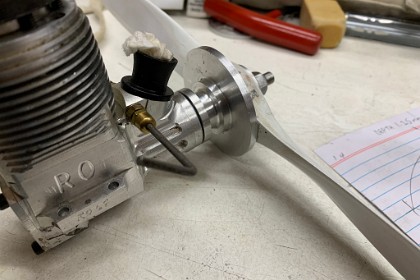
Making an integrated spinner backplate