 1 2021-01-31 I finish construction of a new fuselage and cowl during 2020 but I don't record its construction. I buy the wing and stab already completed. |
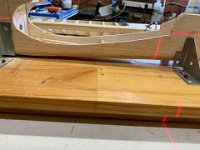 2 2021-01-31 It's now early January 2021 and I start recording my progress. |
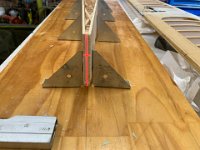 3 2021-01-31 An ex-modeller, Richard Field, had completed the wing, tail and fuselage from an Eric Rule kit that he'd imported from the USA. He'd done a fantastic job with the construction. |
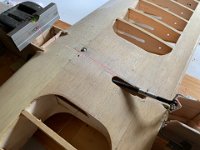 4 2021-01-31 I'd made the control system for Richard including the flap horn and the bellcrank so I am confident about this part. |
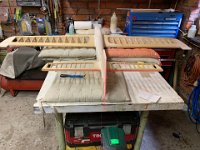 5 2021-03-17 A couple of months have passed since I last took pictures. In that time I've installed the wing, made and installed the top block and here I'm installing the fin. |
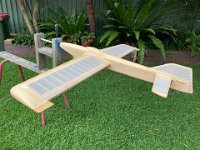 6 2021-04-01 I cover the wings with heat-shrink fabric and the back end with heat-shrink tissue. I hate the shape of the fin. The top is too long and the leading edge does not have enough slope. |
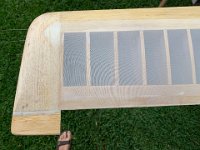 7 2021-04-01 I do a good job installing the heat shrink fabric though. The problem with this stuff is that it take a lot of dope/talc to fill and this adds (I estimate) a few ounces to the weight. |
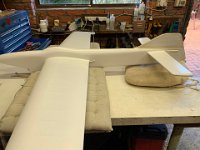 8 2021-06-30 Another couple of months passes and during that time I've painted the plane in 1K base coat and removed the old fin and installed a new one that better suits my eye. I don't really like the shape of the cockpit but decide to leave it as is. |
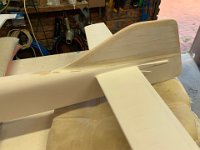 9 2021-06-30 Installing a new fin is quite a bit of work. |
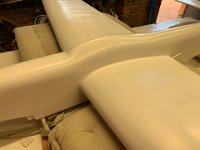 10 2021-06-30 The 1K base coat finish is quite good and I figure I can disguise the cockpit shape with with the silver colour that I'll add later. |
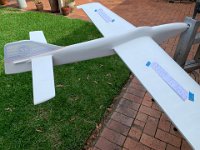 11 2021-11-24 From July 2021 I have about five months off after major back surgery; the operation where the surgeon fuses the spine and installs steel rods to keep everything together. The surgery knocks me about a lot and I mostly just sit and watch Youtube while I recover. |
 12 2021-11-24 I start to lay out the graphics. The fin and lettering are the only masks I make as I decide on a simple paint scheme. |
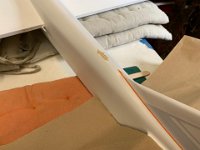 13 2021-11-29 A major problem appears. In the six months that have elapsed since I painted the base coat, the paint has become very sensitive and is lifting. The fuselage seems much worse than the wing but the wing is still not good. |
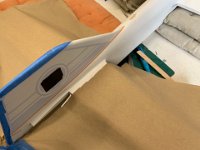 14 2021-11-29 I decide to change my strategy and paint the entire fuselage first and leave the painting of the wing and tail for later. This is a pain because it means spraying each colour twice rather than once. |
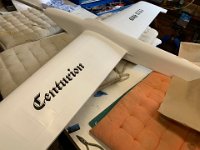 15 2021-11-29 The lettering goes on the wing without lifting the base coat. The excess glue from the masking is easily removed with Prepsol. |
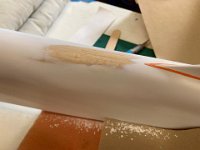 16 2021-11-29 I repair the lifted area on the fuselage. |
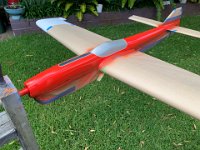 17 2022-01-04 Another month passes by; Xmas has come and gone and it's now 2022. During this period I complete the painting of the fin, the cockpit and the anti-glare stripe. The red is on and I still need to do the purple. |
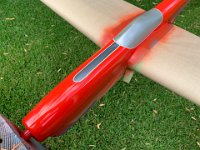 18 2022-01-04 The red 2K looks good. I've learned not to use red 1K base coat because, after wet-sanding, the residue stains the white base coat. I'm still not happy with the cockpit shape but I'll have to live with it. I do like the edge down the centre-front of the cockpit though. The 1K silver is protected with 2K clear at this moment. |
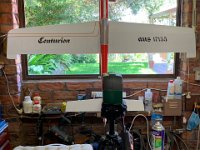 19 2022-01-10 Lining up horizontal stripes is very difficult to get exactly parallel to the trailing edge. I use a laser and first align it vertically down the fuselage centre and then square with the trailing edge |
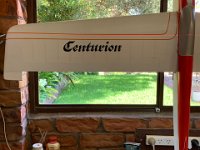 20 2022-01-10 Lining up with pencil marks is not good enough as your eye can immediately detect something is not right as this picture shows - it is out of alignment by perhaps 1mm near the wing tip but you can still see that it's wrong. |
 21 2022-01-12 Even though the parallel lines are exactly parallel according to the laser, to your eye, the lines appear to sweep forward. the ¾ inch pieces of blue tape assure that each tape line is separated exactly by the right amount. |
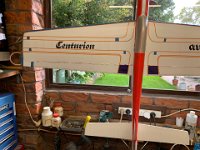 22 2022-01-12 Simple wing layout is complete. |
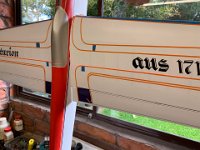 23 2022-901-12 It really is exact. There are pencil lines still visible but these are easily removed later with Prepsol. |
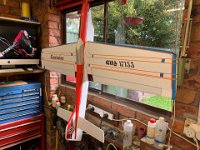 24 2022-01-12 I'm using the flaps (without repainting) from the previous new model that I crashed last year. |
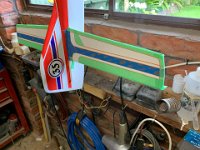 25 2022-01-13 I repeat the process for the stab surfaces |
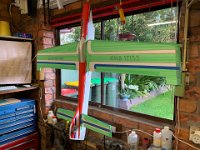 26 2022-01-15 I decide to paint the 2K metallic purple areas first. |
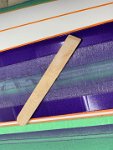 27 2022-01-23 The 2K purple is sprayed but here is one of the handiest tools I've ever made. It gets under graphics and fine-line tape without damaging the paint underneath. It is particularly useful for removing the fin masking and the wing lettering. |
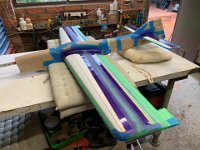 28 2022-01-23 Purple is done, ready to spray the red. |
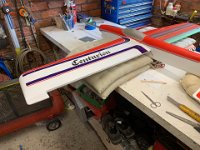 29 2022-01-25 2K Ferrari red is on. It's a very simple design but not too bad. I don't regret the simplicity and even though I don't like it, the cockpit doesn't look too bad. |
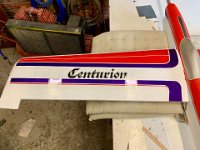 30 2022-01-25 See the white areas within the lettering? My wooden tool is excellent for removing this masking. I usually wait about a day before removing the masking. The 2K paint is firm but not brittle. I always use a hair dryer to soften the plastic masking before attempting to remove it. |
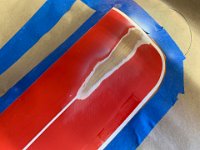 31 2022-01-29 Unfortunately, the paint lifts in a highly visible area on the left wing. Even warming the tape with a hair dryer does not help this time. |
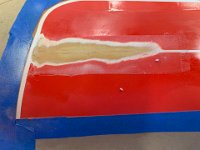 32 2022-01-29 It's really bad and requires major surgery. |
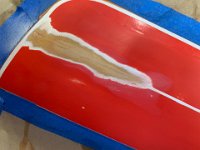 33 2022-01-30 Epoxy-glass feathered down. |
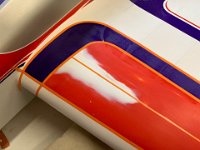 34 2022-01-31 Base coat white reapplied and re-masked ready for another application of red. |
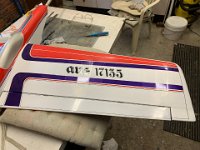 35 2022-02-08 "Ink" lines (actually .07mm tape) are on. The tape has a fine coat of clear applied with a 0.5 nozzle. I use a 1mm nozzle for large areas like the red and a 0.3 nozzle for air brushing. |
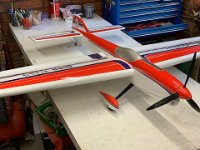 36 2022-02-23 For a simple design, the graphics work quite well. |
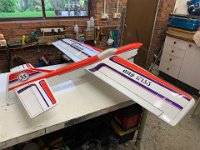 37 2022-02-23 What's it weigh? Gulp: 72 ounces, way heavier than anything else I've ever built. But it does have a RO-Jett 67 up front, quite a heavy motor. I could save a couple of ounces by removing the wheel pants but, why bother? |
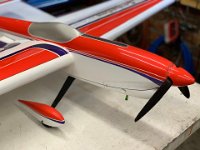 38 2022-02-23 It is fitted with an Eather 3 bladed 12.8 X 6 prop up front. |
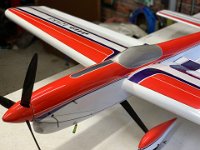 39 2022-02-23 Clear coat coat on and assembled. I use 5% plasticiser in the clear coat. |
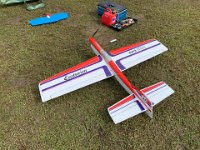 40 2022-04-10 First flight is not too bad except for the muffler blowing apart. I can feel the weight of the plane but the power plant is good. I also go back to .018" 7-stranded control lines so I don't feel any stretching. |
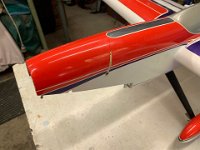 41 2022-04-10 When I get home, I tip the plane upside down and raw fuel runs down the fuselage from the tank filler/breather. |
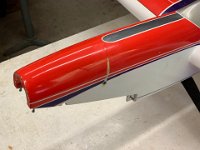 42 2022-04-10 This plane hangs in the garage while I work on my newest plane. |
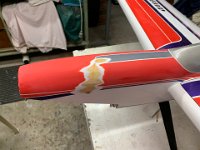 43 2022-12-01 I go flying at the KMFC Xmas Party and decide to put my new build away for a while and to repair this one. I start by wet sanding and feathering the repair area. |
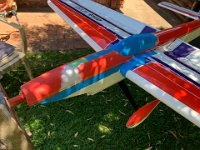 44 2022-12-05 The white is spayed on and the parts to be repainted are masked off. . |
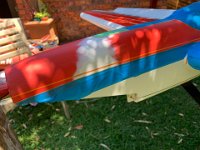 45 2022-12-05 The existing red is also wet-sanded with 2000. |
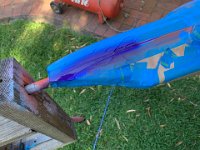 46 2022-12-11 The red is repainted and the purple stripe is done |
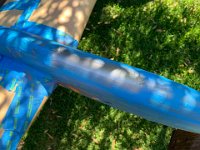 47 2022-12-11 Then the dark metallic silver goes on. It looks weird in this light. |
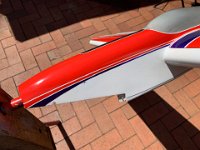 48 2022-02-23 Later that day, all the masking comes off. |
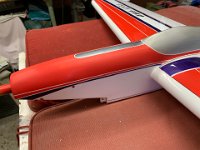 49 2022-12-15 After curing for a couple of days, I wet sand the whole front with 2000. I then spray the clear over it. |
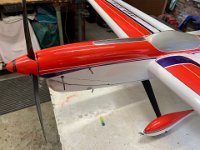 50 2022-12-17 I do a first class job. I can't fly for shyte, I make too many mistakes when I build, but this is something I'm still good at. |
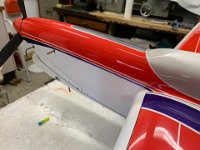 51 2022-12-17 That's it all done. There was a tiny hair stuck to the canopy with clear. After taking this picture I wet sand and polish it. Gleaming again. Return to the home page |

